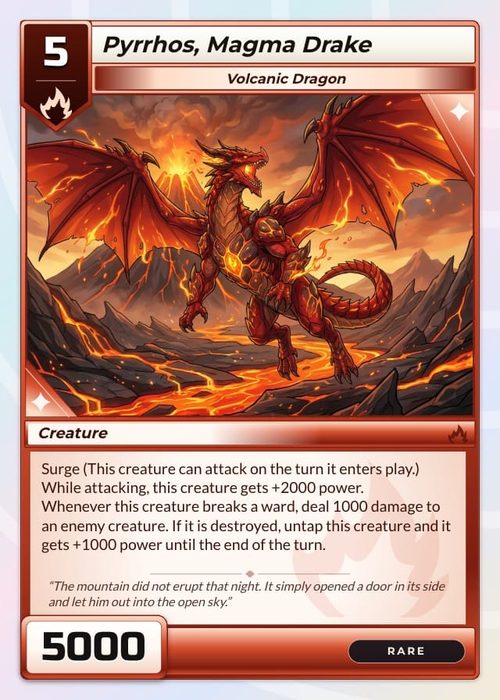
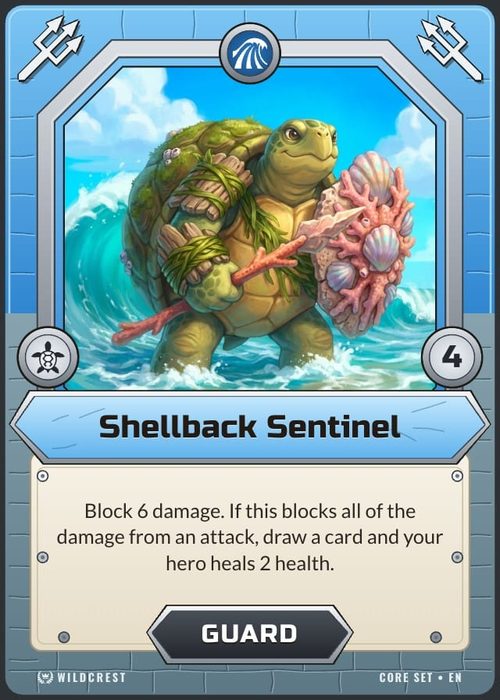
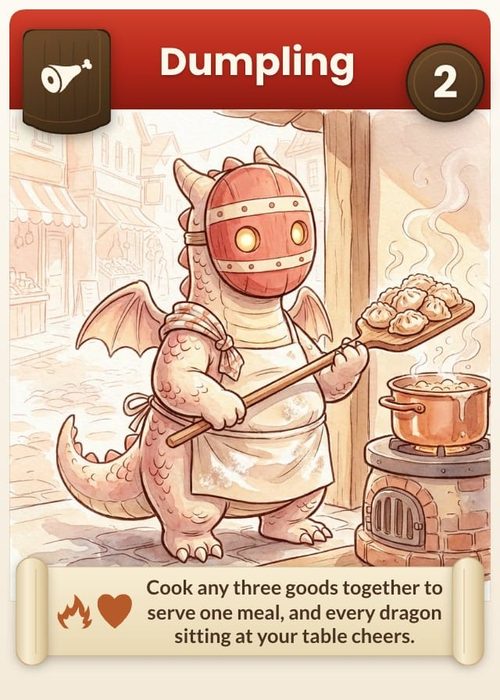
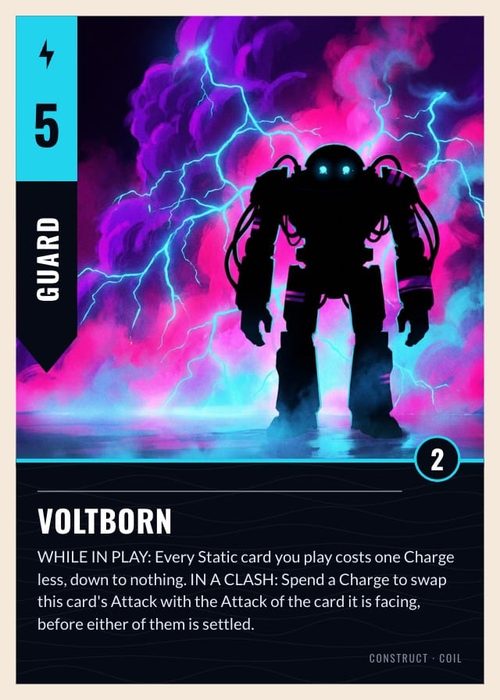
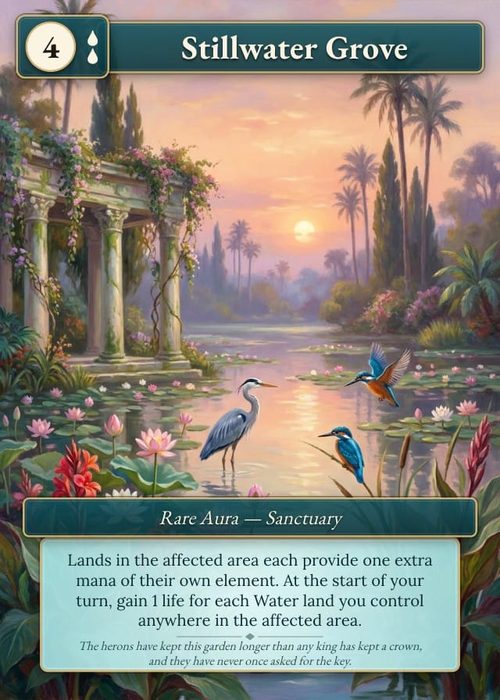
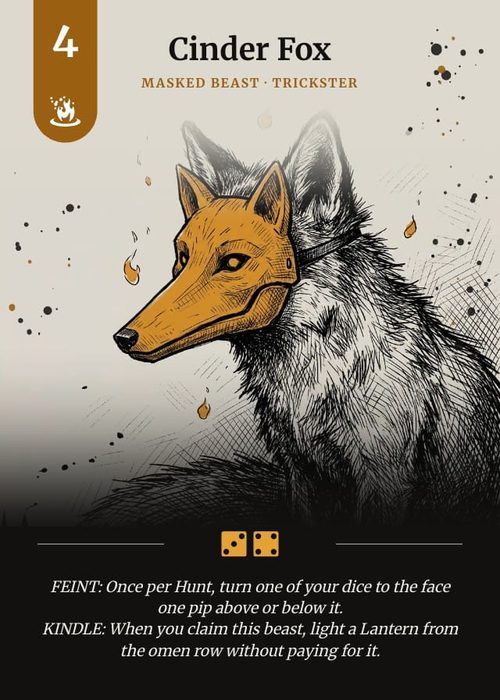
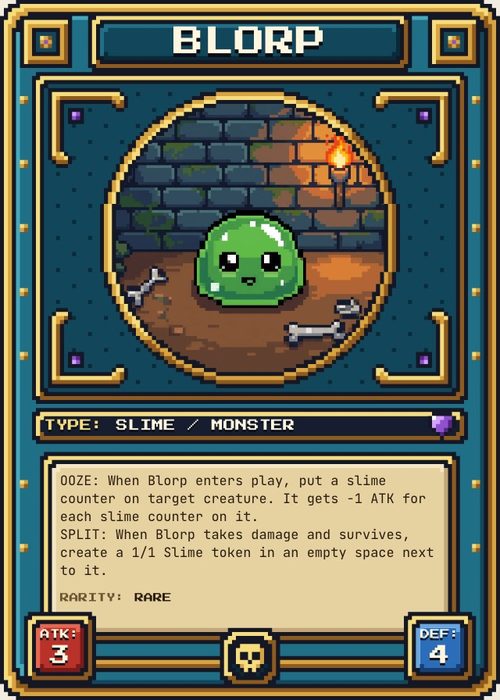
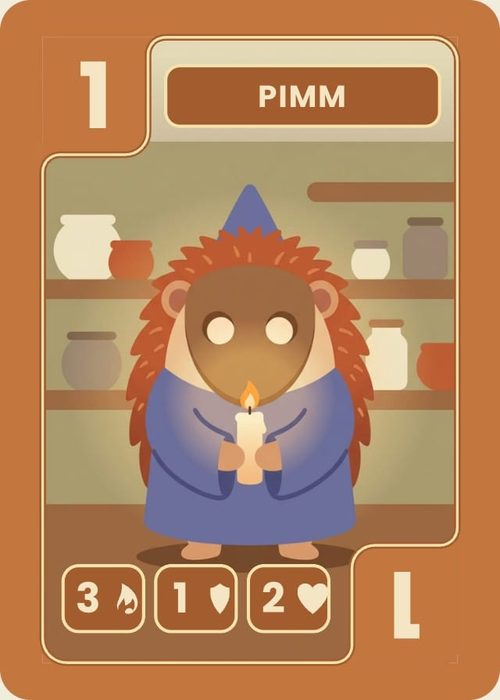
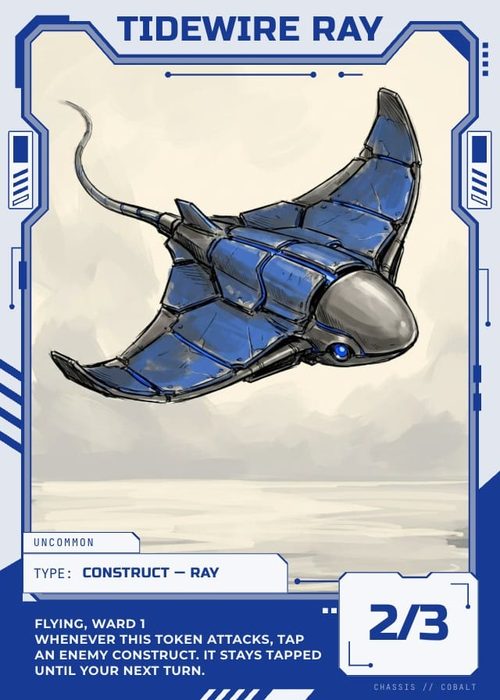
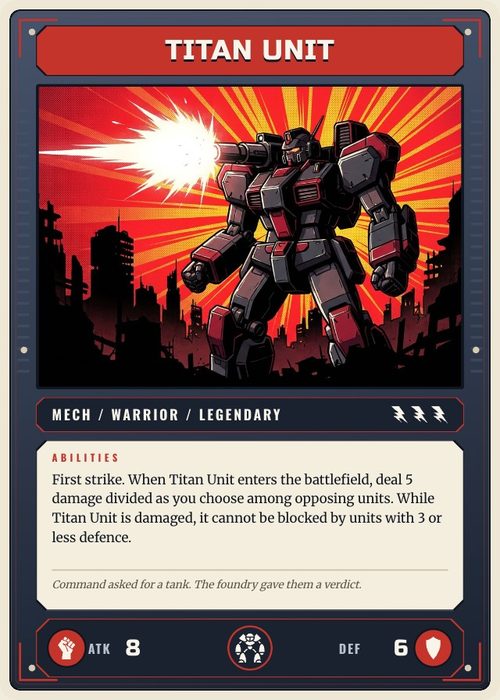
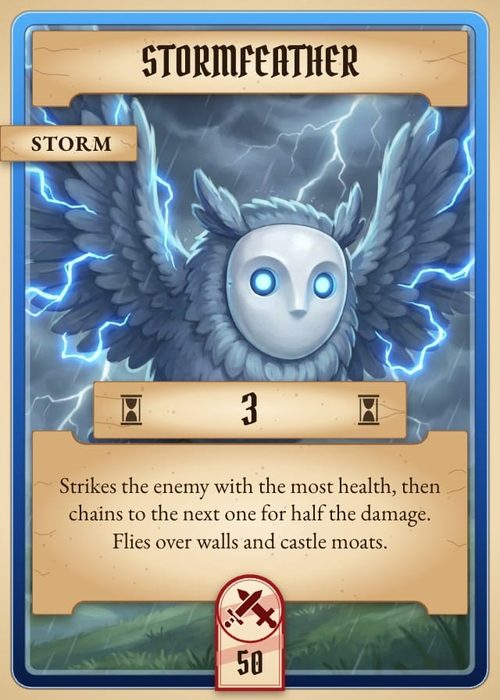
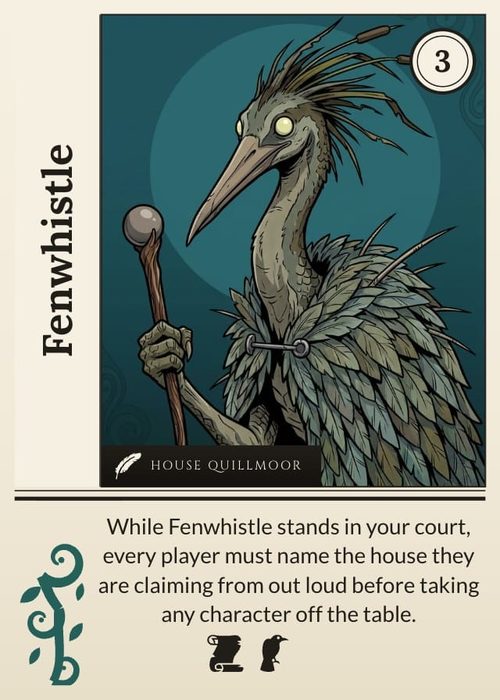
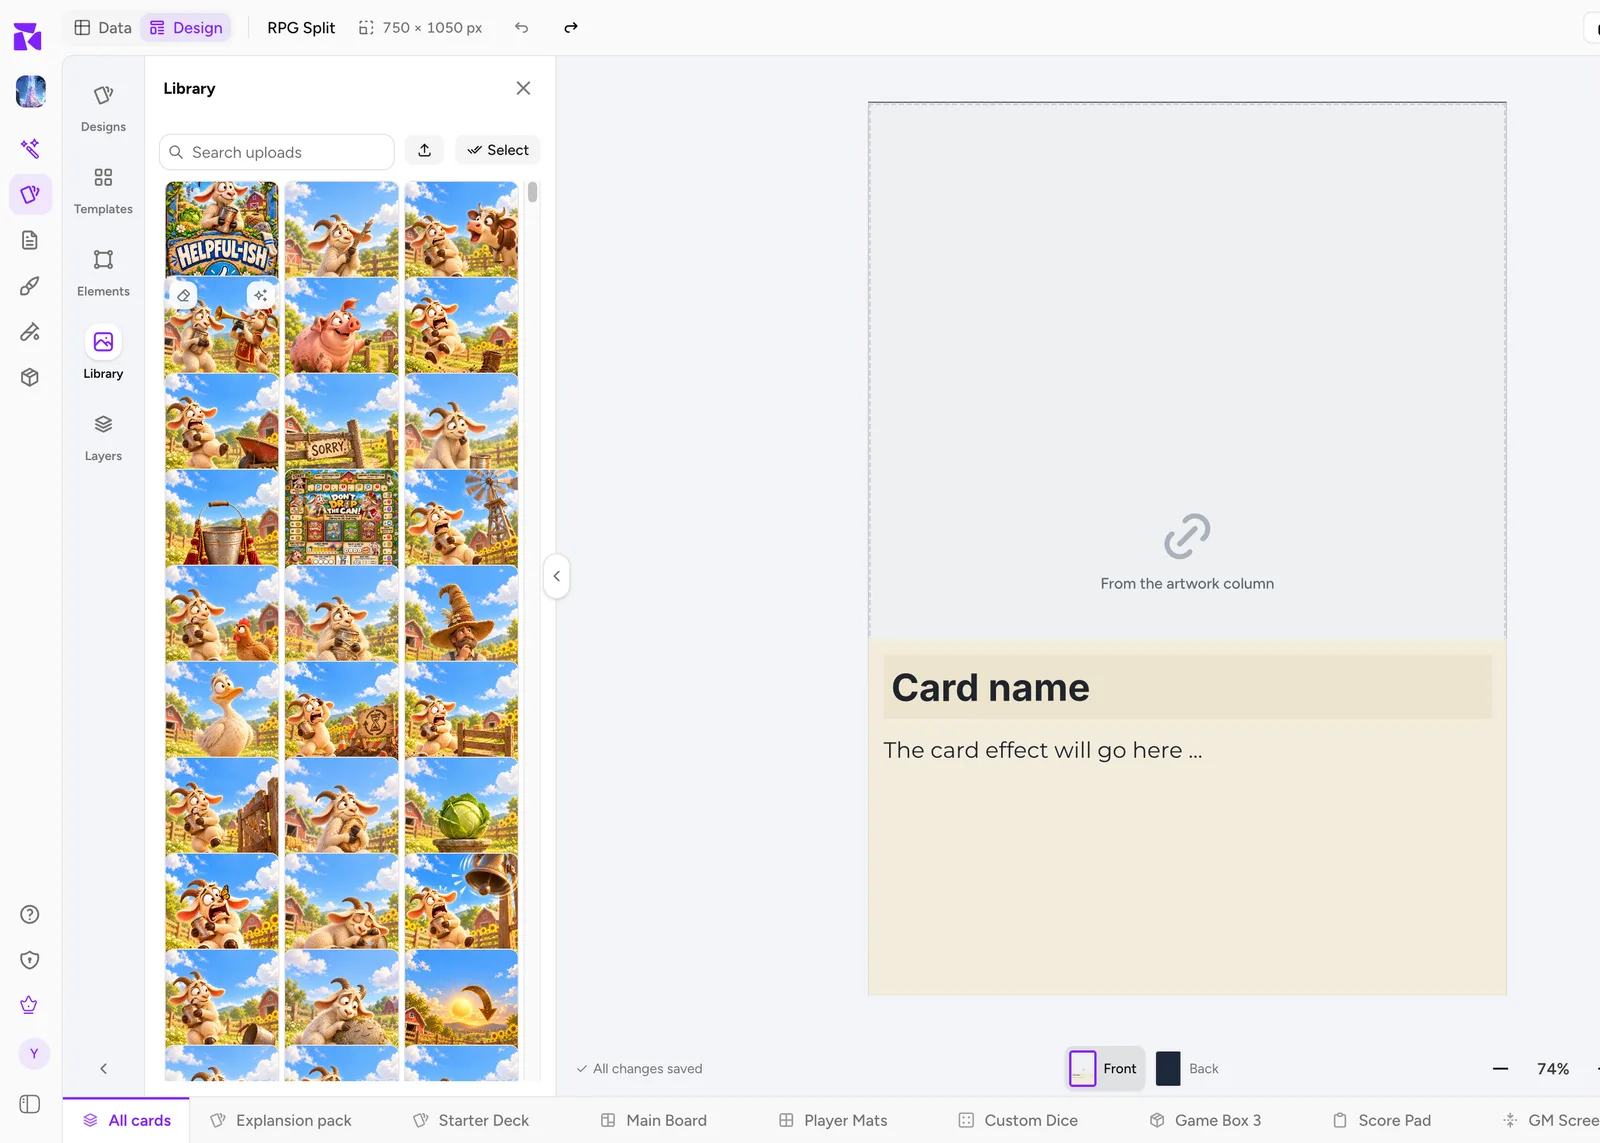
Every picture you upload or generate in ShuffleKit goes into one image library that belongs to your account. Card art, logos, textures, board backgrounds and AI pictures all live there, and any of them can go on any card or design in any of your projects. Open the library when you want to place a picture, reuse one you already have, or clear out files you no longer need.
What's in your library
The library holds:
- Every image you upload, in any project.
- Every picture you generate with the Generator or with Shufflo.
- Every result you save from Remove background or Eraser, as a new image beside the original.
- Pictures a template brought with it when you added it to a project.
- Images that people you share a project with upload into one of your projects. If you invite an editor and they add art to your cards, that art shows in your library too.
It is one library for the whole account, not one per project. A picture you uploaded for one game is there when you open another, so a logo or a card frame only needs uploading once. ShuffleKit notes which project an upload was made in, but that never limits where you can use it.
There is no storage limit by plan. Upload as many images as you need on any plan, Free included; the limit is per file (see the next section).
Where the library opens
You reach the same library from several places. What you can do there depends on where you opened it.
| Where | How it opens | What a click on a picture does |
|---|---|---|
| Design, left rail | The Library tab | Places the picture on the design |
| Design, a picture selected | Choose image or Replace image on the toolbar over the picture | Puts that picture in the selected frame |
| Design on a phone | Elements in the bottom bar, then A picture from your library in the Add to this design sheet | Places the picture on the design |
| Card sheet, an Image cell | Click an empty cell (it reads Click to upload), or Replace from the cell's ⋮ | Puts the picture on that card |
| Card preview | Click the picture on the rendered card, then Add image or Replace | Puts the picture on that card |
| Shufflo | The paperclip (Attach) → Choose from library | Attaches the picture to your message |
| Project Details | The Logo, Banner, Backdrop or Advertisement field | Sets that project image |
| Generator | The gallery's Library view | Opens the picture large |
From an Image cell, the card preview and the Design toolbar, the library opens as a window titled Image library. The picture the card or frame already uses has a check mark on it, and Remove Image at the bottom takes the picture off without choosing another. Cancel closes it without changes.
Upload images
The library takes PNG, JPEG, WebP, GIF, SVG, AVIF and BMP files of up to 10 MB each. Other formats, such as HEIC photos or Photoshop files, are refused; export them as PNG or JPEG first.
There are four ways in:
- Drop files on the Library tab in Design, or on the Drop images or click to upload strip at the top of the Image library window. The drop area outlines itself when files are over it.
- Click to choose: the upload button beside the search box in the Library tab (its tooltip reads Upload images), or a click on Drop images or click to upload. You can pick many files at once.
- Paste in the Design editor: copy a picture in another app and press
Mod Vwith the canvas in focus. ShuffleKit uploads it aspasted-followed by a number and places it on the design. - Drop on the Generator's gallery, which uploads into the same library.
Several files upload side by side, and each picture joins the grid as soon as it lands. In the Image library window a bar shows Uploaded 3 of 10 with a progress line. If some fail, the bar says how many (2 of 10 didn't upload) and lists each failed file with the reason, such as Over the 10MB limit or Unsupported format (use PNG, JPEG, WebP, GIF, SVG, AVIF or BMP). Retry sends only the failed files again; Dismiss clears the list. In the Library tab a toast reports the same thing, with its own Retry.
The library has no folders. Use clear file names and tags (below) to keep a large library easy to search.
Find a picture
The Library tab in Design has a search box, Search uploads, that matches file names. The Image library window has Search by name… and a Filter button beside it, shown once the library has at least one image.
Filter opens a menu in two parts:
- Generation lists what your AI pictures were made with: the model, the mode (Text to Image or Image to Image) and the style, such as Watercolor or Pixel Art. A model or mode appears only when your library has pictures from more than one, since a choice of one would filter nothing.
- Tags lists your tags. With none yet it reads No tags yet. Create tag opens a small box (tag name...); type a name and press
Enter. Tag names are saved in lower case.
Each filter you tick shows as a chip beside the button, with an × to remove it, and Clear all appears once two or more are on. With several filters on, a picture that matches any one of them shows. No images match your filters means nothing matches the search and filters together.
Tag your pictures
Tags are applied in the Generator. Open Generator from the sidebar and switch the gallery to Library. Then either:
- Click a picture to open it large, and use its Tags (Add Tag) to add or remove a tag on that one picture.
- Click Select images (Select on a phone), pick several pictures, and use Tag to apply a tag to all of them.
The tags then work in the Filter menu everywhere the library opens. See Generate & Edit Game Artwork for the rest of the Generator's gallery.
Use a picture
How a picture lands depends on where you are:
- On a design, the same on every card. In the Library tab, click a picture to place it in the middle of the design, or drag it onto the canvas to drop it where you let go. A placed picture starts at most 60% of the canvas wide or tall. Drag a picture onto an existing picture on the canvas to replace it instead; the picture about to be replaced lights up while you drag. Hold
Alt(⌥on a Mac) as you drop to add it on top instead. Pictures that are locked, or connected to a column, are never replaced this way. - On one card. Open the library from that card's Image cell or from the card preview and click the picture. Only that card changes.
- On many cards at once. Use Add images by file name… from the Image column's header, which can take pictures from your library with Use images from your library. See Add Artwork to Your Cards.
A picture used on a card or design is the same file as the one in the library, not a copy. That is why deleting it from the library affects the cards that use it.
Delete pictures
Deleting is available in the Library tab in Design, and in the Image library window when you opened it from an Image cell or the card preview. In the Generator's Library view, Select images has a bin button that does the same.
- Click Select (its tooltip reads Select images to manage).
- Tick the pictures to remove, or use Select all. The bar shows how many are picked (3 selected). Select all picks every picture the current search and filters show, so search first to delete a set.
- Click Delete, then confirm in the dialog (Delete image in the Library tab, Delete images in the window).
- Click Done to leave select mode.
Deleting is permanent. The file is removed from storage, and there is no bin to restore it from. Any card or design that still uses the picture can show a missing image in the editor, the preview, exports and prints. Check that a picture is no longer used before you delete it, or replace it on those cards first.
You can delete your own uploads, and images others uploaded into projects you own. If you published a template that uses a picture, keep that picture in your library: each new install copies its pictures from yours, so a picture you delete is missing from later installs. Copies people already installed keep their own. See Publish & Share Your Own Templates.
Remove a background or erase part of a picture
Point at a picture in the Library tab and two buttons appear on it: Eraser at the top left and Remove background at the top right. On a phone or tablet they show all the time. SVG files don't have them, since there is nothing to cut out of a vector drawing.
- Remove background lifts the subject off the picture. It runs in your browser, so the first time downloads the cut-out model once (Getting the model ready… 40%) and every cut-out after that is faster. Hold Hold to compare with the original to flick back to the original, and Touch up to fix the edges with the eraser. If it reads Couldn't find a clear subject in this image., the picture has no single subject to separate; use the Eraser instead.
- Eraser has three brushes. Erase makes what you paint transparent, Remove object fills what you paint over from what surrounds it, and Restore paints the original back. Set the Brush size, and use Undo and Redo as you go.
Save to library keeps the result as a new picture beside the original, which stays as it was. Started from the Library tab, cards using the original don't change; put the new picture on them when you want it.
On Free you can try both tools on any picture and keep one result; after that the button reads Upgrade to save. Hobby, Indie and Professional save without a limit. The same tools sit on a picture's toolbar in Design (BG Remover and Eraser) and in an Image cell's Adjust framing… view, as described in Add Artwork to Your Cards.
On a phone
The Image library window opens as a sheet that covers most of the screen. File names show along the bottom of each picture all the time, since there is no hover. In Design, tap Elements in the bottom bar, then A picture from your library; with a picture selected, Replace, BG remover and Eraser are in the bottom bar. Uploading opens your phone's photo picker or files, and the same 10 MB and file-type rules apply. See Use ShuffleKit on Your Phone.
If a picture turns into "Image removed"
Every image you upload is checked automatically a few seconds after it arrives. One the check flags as sexually explicit is swapped for a grey picture that reads Image removed, Our automatic content check flagged this image. and Think it's a mistake? Contact support and we'll take a look.
What changes and what doesn't:
- The library keeps the entry under its original file name, so you can tell which upload it was.
- Every card and design that used it shows the grey picture instead, in the editor, the preview, exports, prints and the Playtable.
- Your account, your cards and your other pictures are not affected, and no email is sent.
- Pictures made with ShuffleKit's AI are not checked this way, because the image models refuse such requests to begin with. A background removal or eraser result is checked, since it comes from an upload.
If the check got it wrong, open Support (the round chat button at the bottom right, or Support in the sidebar menu on a phone), give the file name and say which project uses it. When the picture is restored, it comes back on every card that uses it. If you don't want to wait, upload a different picture and put it on those cards.
A browser tab that was already open when a picture was swapped can show it as broken until you reload the page.
Common problems
- A file won't upload. Check its size (10 MB at most) and type (PNG, JPEG, WebP, GIF, SVG, AVIF or BMP). For a failed file in the Image library window, read the reason next to its name and press Retry.
- The picture is in the Generator but not on my card. Generating a picture puts it in the library only. Open the card's Image cell and pick it, or ask Shufflo to put art on the cards.
- Cards show a missing image. The picture was deleted from the library. Pick another picture for those cards.
- The Select button is missing. The Image library window only offers it when opened from an Image cell or the card preview. Use the Library tab in Design to delete from anywhere else.