
The Generator is the focused workspace for producing and revising game artwork. Use it when you want a new illustration from a written brief or a controlled variation of an existing image. When you are placing an approved image on a layout, use the Library tab in Design instead.
The Generator has two tabs. Shufflo is a chat: describe what you want in plain words, and Shufflo writes the prompts and generates the images for you. Manual gives you the prompt box and every setting directly, and has two views, Generate and Edit. Images from both tabs land in the gallery on the right. On a phone, the gallery fills the screen and the brush button in the corner opens the controls.
Ask Shufflo for art
The Shufflo tab opens on Let's generate some art with three suggested prompts, and its composer reads Describe the images you want to create.... It is the same assistant as the Cards panel, with the same attach, voice, project and Doc controls (see Shufflo AI). Pick Gemini Flash or Gemini Pro under the gear in its header. Shufflo makes up to six images per message; attach an illustration and it uses it as the style for new art, or ask it to change the attached image itself. Click an image in the chat to open it large, next to the other images from this visit that share its prompt.
Generate from a brief
Open Generator, choose Manual, then use the Generate view. Describe the subject, composition, mood, materials, lighting, camera distance, and the empty areas needed for card text. A specific prompt gives you a better result than only naming a genre. Press Generate, or Cmd/Ctrl+Enter in the prompt box.
Open Advanced Options to set:
- Model: Gemini Flash (fast, good quality) or Gemini Pro (higher quality, slower).
- Aspect Ratio: 1:1, 3:4, 4:3, 9:16, 16:9, 2:3 (Poker Card), 3:2, 4:5, 5:4 or 21:9.
- Number of Images: 1 to 8.
- Seed (optional): leave it on Random, or enter a number to make a result easier to repeat.
- Style Preset: None, Photorealistic, Digital Art, Oil Painting, Watercolor, Anime, Pixel Art, Fantasy or Card Game Art.
Choose an aspect ratio that suits the final component, but leave a little flexibility: a card layout may crop differently from a board or token face.
Before generating, check the image-credit meter at the top of the Manual tab. One image costs 1 credit on Gemini Flash and 5 on Gemini Pro, and your plan includes a monthly number of credits (see Settings). Generate a small set first, select the strongest direction, then iterate. This saves credits and keeps the gallery easier to review.
Edit with references
Switch to Edit when the important thing is continuity rather than novelty. Add up to five reference images, then describe the desired change. Drag images from the gallery (Session or Library) onto the upload area, or click it to upload PNG, JPG or WebP files up to 10 MB each. The counter shows how many of the five slots you have used, and each thumbnail has an x to remove it.
Starting buttons above the prompt fill it in for common jobs: Erase object, Expand, Clean up, Enhance detail, Restyle, Match style and Recolour. Match style needs at least two images: the first is redrawn in the style of the rest. Expand outpaints to the aspect ratio set in Advanced Options. Each edit costs the same credits as a generation.
Good editing prompts preserve what must stay consistent and name exactly what changes:
Keep the lantern-bearing forest mage and teal-gold palette. Change the pose to a three-quarter view, leave quiet space at the bottom for rules text, and remove all lettering.
Review the generated result at full size before using it. A good thumbnail can still have damaged details, unwanted text, or no usable safe area once it is placed in a layout.
Move artwork into a card or component
Every image you generate is saved to your image library automatically. The gallery has two views: Session holds what you made in this visit, with a count beside the name, and Library holds everything you have generated or uploaded. Clear session (the bin, in Session view) empties the session view; the images stay in your library. Drop image files onto the gallery to upload them to the library.
Click an image to open it large. Step through with the arrow buttons or the left and right arrow keys, press Copy prompt or Download image, and read which model, mode (Text to Image or Image to Image) and style made it. For an edit, View Original shows the image you started from. In Library view, the large view also has the image's Tags, where you can add or remove a tag.
To tidy the library, switch to Library view and press Select images, click the images you want (or Select all), then use Tag to apply a tag to all of them or the bin to delete them, and Done when you finish. In the same view, Filter narrows the library by model, mode, style or tag, and can create a new tag.
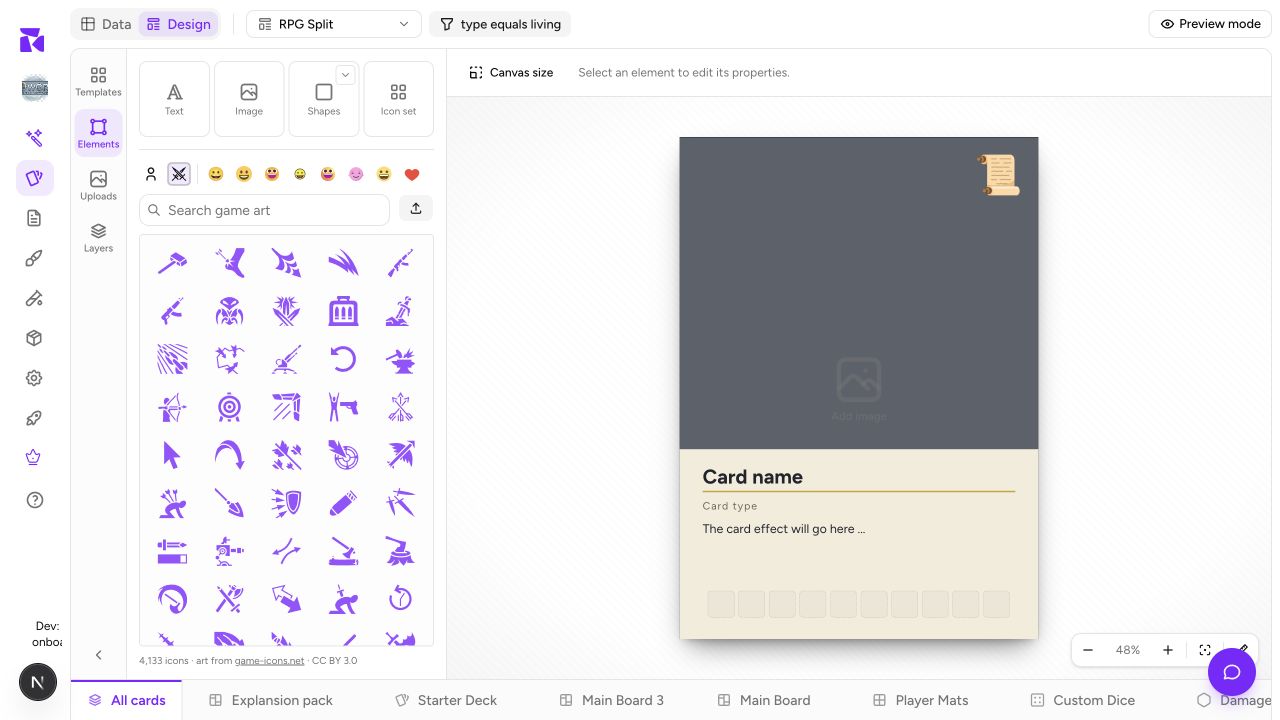
The same library appears wherever you pick an image. In Design, open the Library tab in the left rail and click an image to place it on the layout, or drag it onto the canvas. In the card sheet, an Image cell opens the same library, so you can put a generated picture on one card without touching the layout.
For consistent art across a game, make a small style guide in Docs & Rules, reuse its vocabulary in every prompt, and retain the seed/reference pair for a direction you may need to recreate later.
Keep generation separate from approval
Generation creates options; it does not finish a printed component. Add the chosen art to its layout, check trim and safe zones, preview it with real data, and only then treat it as production-ready. The full layout path is in Layout Editor Tour.











