
Print & Ship turns a finished game into real, orderable components. It renders the collections you select at print resolution, uploads them to TheGameCrafter (TGC), and creates a game listing you or anyone else can order from.
Everything on this page is a bridge between your ShuffleKit project and a TGC game. Nothing here changes your component data or layouts.
Publishing is an Indie plan feature. On the free plan you can set everything up, including decks, sizes, listing, and media. The publish button reads Upgrade to Publish until you're on Indie.
If you only need the shortest path to a first proof: connect TGC, select the component collections, check their size and faces, complete the seven required listing fields, turn Auto-proof off so you can review on TGC, publish, and order one copy. The card-specific controls below explain deck backs, copies and packaging; the same page also publishes boards, mats, tokens, dice, meeples, screens, score pads and boxes.
Components first, card details second
Create each physical piece as a collection before you publish it. Print & Ship reads its type, size, valid faces and quantity from that collection, then only offers a matching TGC product. A board cannot be exported as a Poker deck, a D8 gets its eight faces, and a box publishes its single outside dieline.
The workflow is therefore:
- Create and design your component collections in the workspace.
- Connect TheGameCrafter.
- Select one or more collections to include in the game.
- Review each collection's render, size and print guides.
- Finish the shared listing and publish.
The rest of this tutorial keeps the detailed card-deck instructions because cards have the most product-specific controls: optional per-card backs, randomization, rarity classes and tuck-box packaging. For the catalog and component setup, start with Components & Collections.
Component publishing rules
When you select a project, Also in this game lists the eligible non-card collections. Keep the board, mat, token, die, meeple, screen, score pad, or box collections you want in this TGC game selected; the collection's own preset decides the product identity, dimensions, faces, and quantity. Cards remain deck tabs because they have card-only controls such as randomization and per-card backs.
The important distinction is printable versus orderable:
- A catalog size that maps to a TGC product can be sent to Print & Ship.
- A custom size can still be exported as images or a PDF, but it is not offered as a TGC product.
- D10, D12, and D20 collections are playtable-only. They can be designed and rolled online, but have no matching TGC die here.
- Booklets are intentionally absent from the new-collection catalog until the editor has a proper writing and page-flow workflow. An existing booklet collection remains supported by its export and publishing paths.
Before publishing, inspect each selected component with the print guides on:
| Component | What to check |
|---|---|
| Boards and mats | Front and back resolve correctly. Folding board presets print one face, so use the crease guides in the editor instead of making an unused back. |
| Tokens and meeples | The artwork reaches the bleed. Their cut shape is applied by the printer; do not trim the exported art to the visible circle, hex, standee, or meeple silhouette. |
| Dice | Every printable face has a finished layout. A D4, D6, or D8 publishes as one physical die with its required number of faces. |
| Screens | Outside and Inside are separate printable faces; keep vital text away from the two fold guides. |
| Score pads | Each selected item is a one-sided pad design. The TGC product supplies the pages; ShuffleKit publishes the finished sheet. |
| Boxes | Design the full flat dieline. The gallery's standing box hides the waste for review, but the printer receives the complete dieline-sized artwork. |
If a collection's layout is a different size from its selected preset, the page calls that out before publish. Fix the canvas size in Design whenever possible; scaling is a last resort because it can soften art and move content toward the safe edge.
Before you start
Print & Ship publishes what your layouts render, so get these right first:
- Component artwork is final. Re-publishing creates a new TGC game rather than updating the old one (more on that below).
- Layouts resolve correctly for every selected item and face. Check with Preview mode and Why this layout?. If a collection's items match no layout at all, the preview says so instead of rendering.
- Collection quantities are set. A card with QTY 3 prints three times; token collections can use higher counts. See Card Collections & Quantities.
- Bleed and safe zones are respected. The print-guide overlay on this page is how you check. See below.
Connecting TheGameCrafter
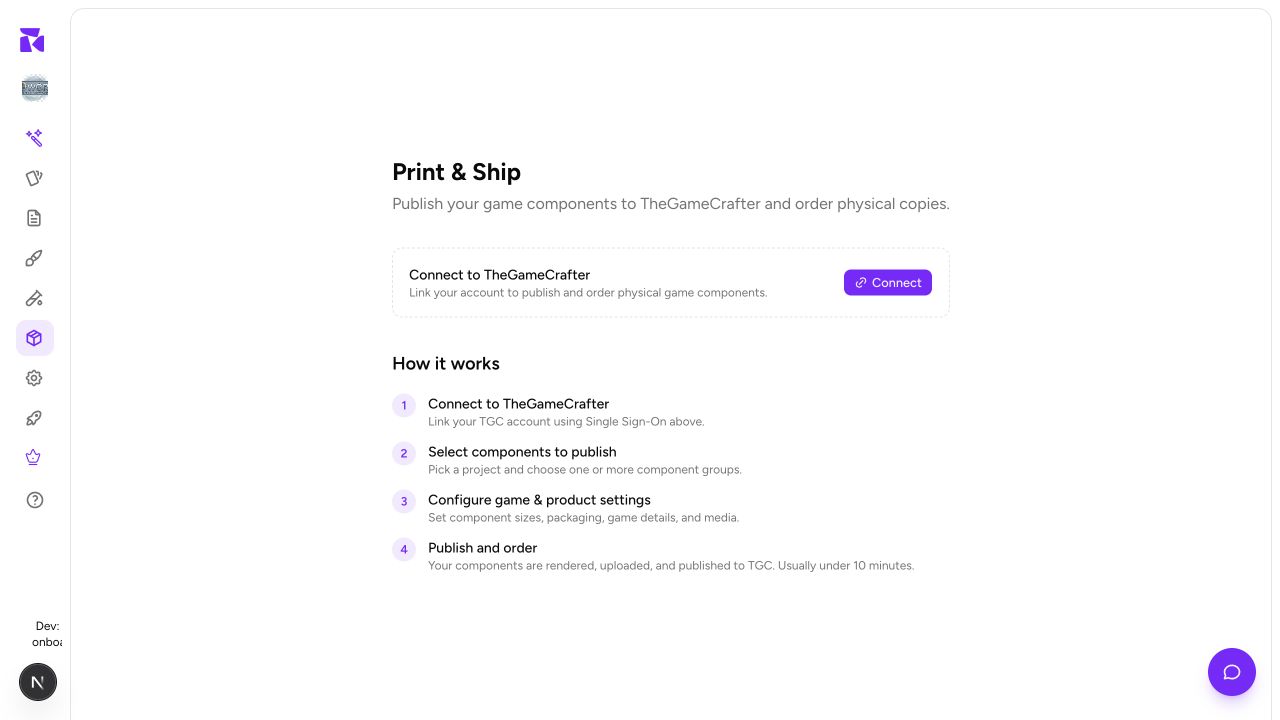
The first time you open Print & Ship you get a connect screen and a four-step summary of the whole flow:
1. Connect to TheGameCrafter: Link your TGC account using Single Sign-On above. 2. Select components to publish: Pick a project and choose one or more component collections. 3. Configure game & product settings: Set component sizes, packaging, game details, and media. 4. Publish and order: Components are rendered, uploaded, and published to TGC. Usually under 10 minutes.
Click Connect and sign in with your TGC account. Once linked, the account name appears as a chip at the top of the panel.
Careful with that chip: clicking it disconnects the account rather than opening a switcher. Its tooltip says so, and it turns red on hover. Reconnecting is just another SSO round-trip and nothing is lost, but it's an easy misclick.
Choosing component collections
With an account linked, pick a project from the selector at the top of the left panel. The right side then asks you to choose component collections and lists every eligible collection in the project. Click one and it opens as a tab.
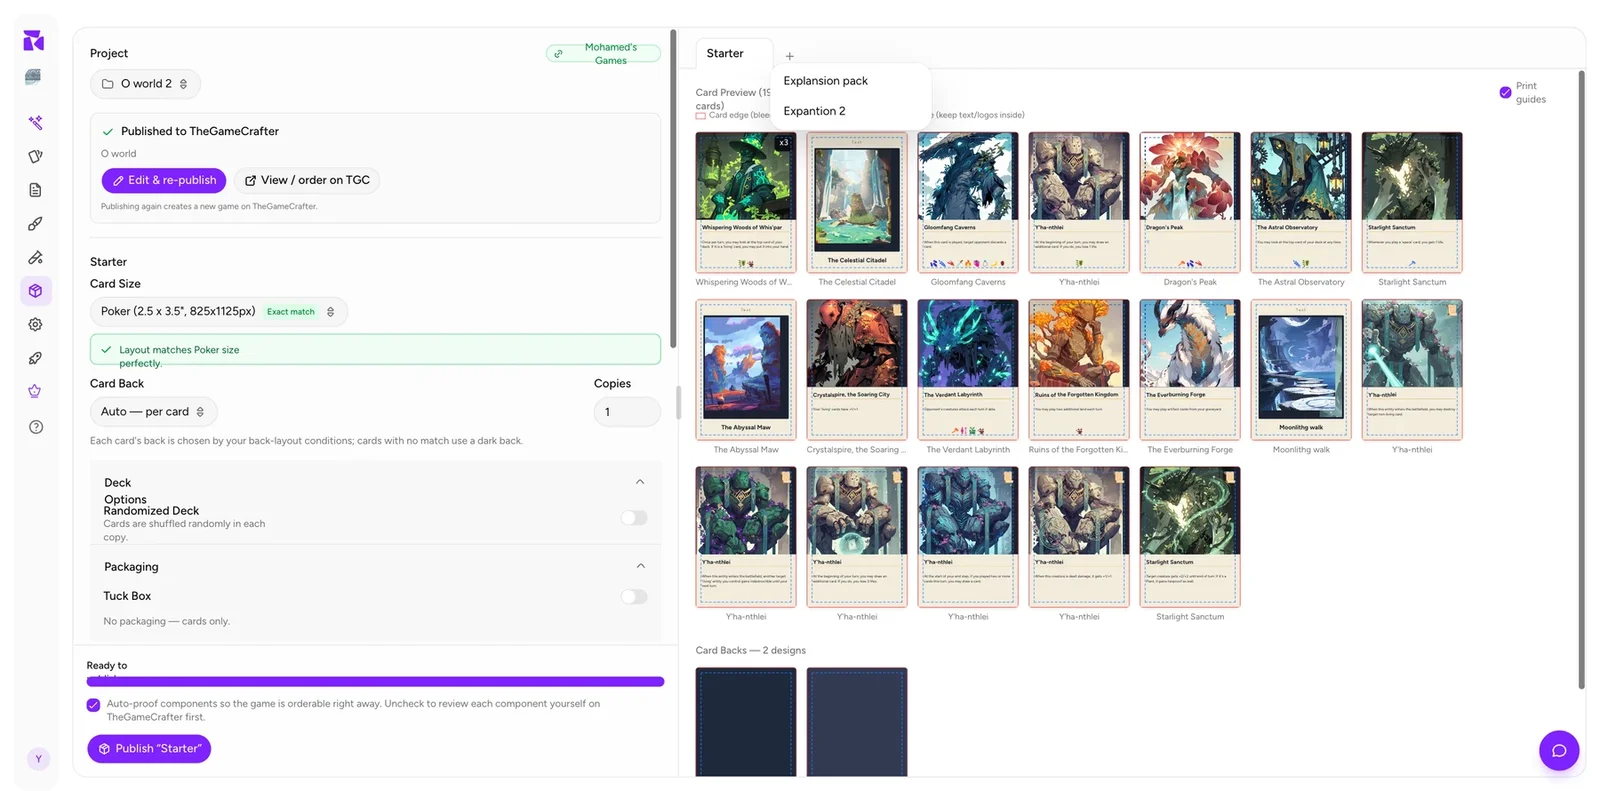
- Click the + beside the tabs to add another deck. The menu lists only decks you haven't added yet, and says All decks added once you've used them all.
- Hover a tab and click the × to remove it.
- Each tab carries its own card size, back, copies, options and packaging.
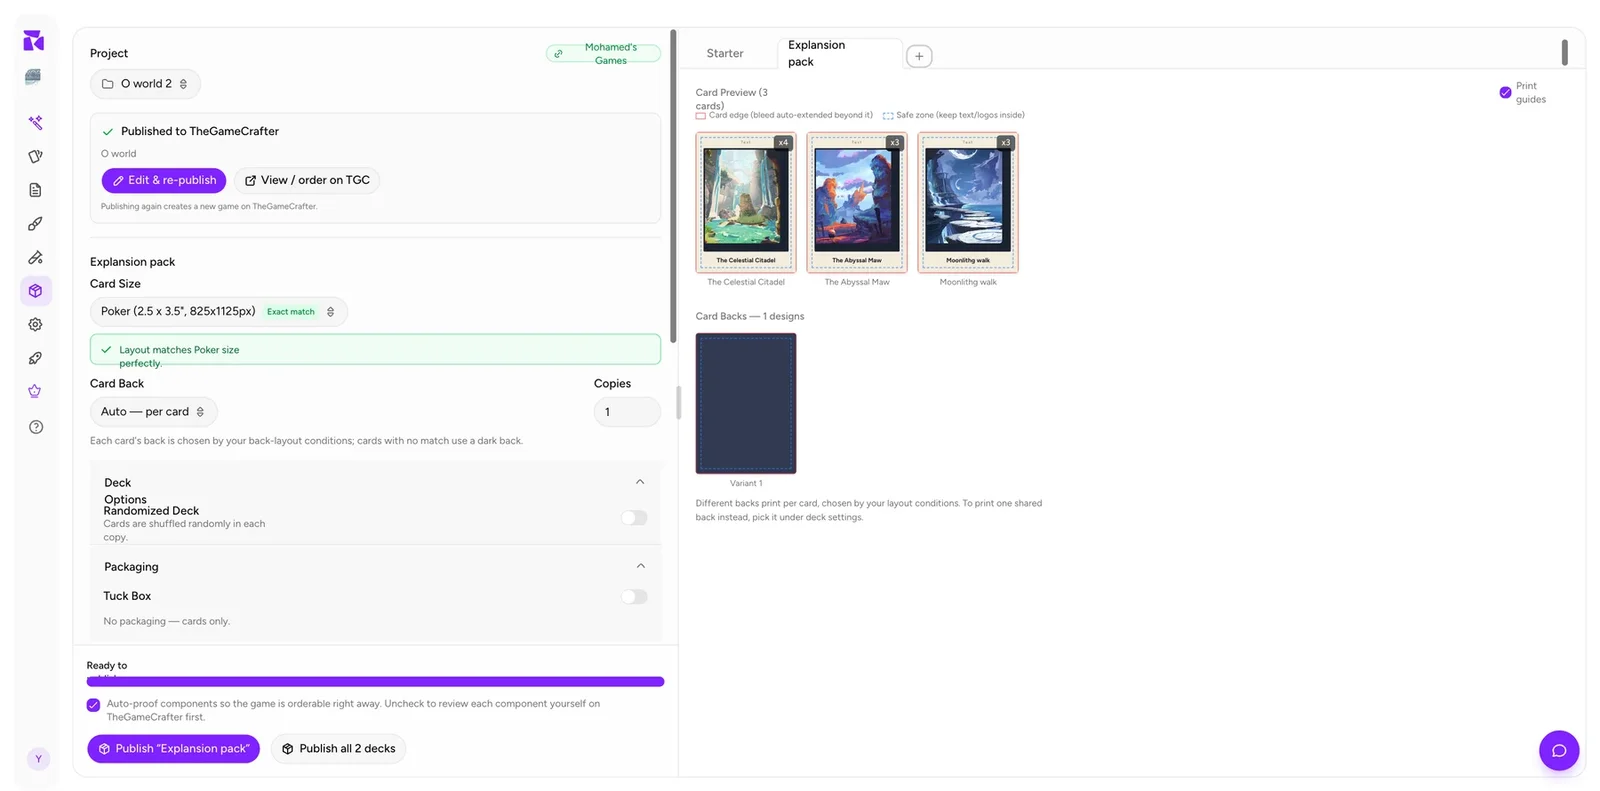
One TGC game can contain several decks: a core set plus two expansions is one listing with three card components.
Card size
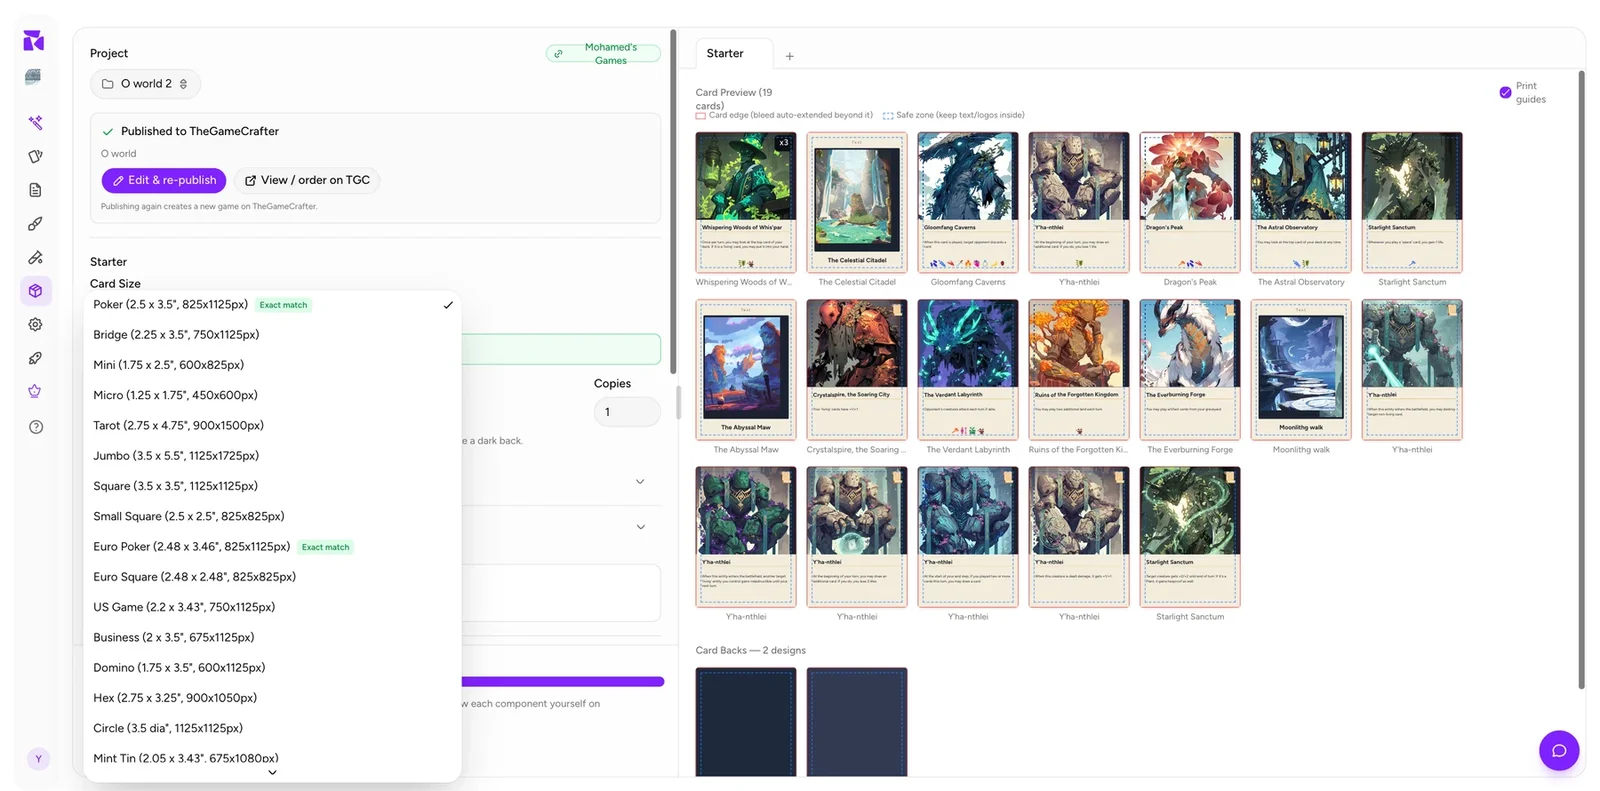
All 21 TGC stock sizes are here, with dimensions in inches and the pixel size of the file TGC receives:
| Standard | Poker, Bridge, Mini, Micro, Tarot, Jumbo, Square, Small Square |
| Euro / regional | Euro Poker, Euro Square, US Game, Business, Domino |
| Shaped | Hex, Circle, Divider, Mint Tin |
| Premium | Foil Poker, Foil Tarot, Card Crafting, Clear Card Crafting |
Three badges can appear beside a size: Exact match (green), Best fit (blue, the closest aspect ratio when nothing matches exactly), and Premium (purple).
The pixel numbers include bleed
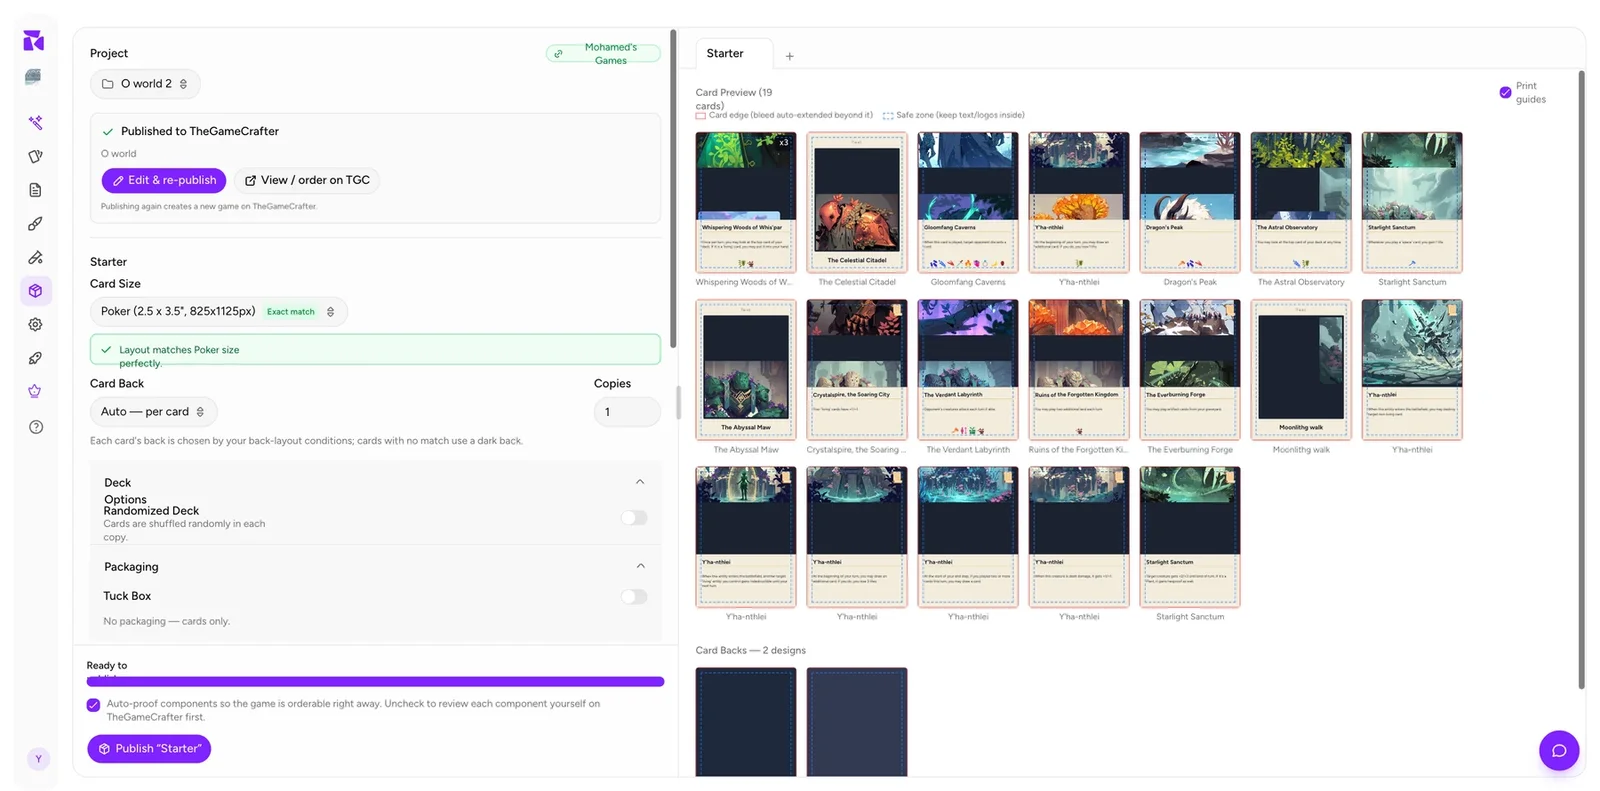
This trips people up. The 825x1125px shown next to Poker is the upload size, meaning the visible card plus TGC's ⅛-inch bleed on all four edges. Your layout should be authored at the cut size, which is 75px smaller in each dimension: 750x1050px for Poker. ShuffleKit extends the bleed outward for you at publish time.
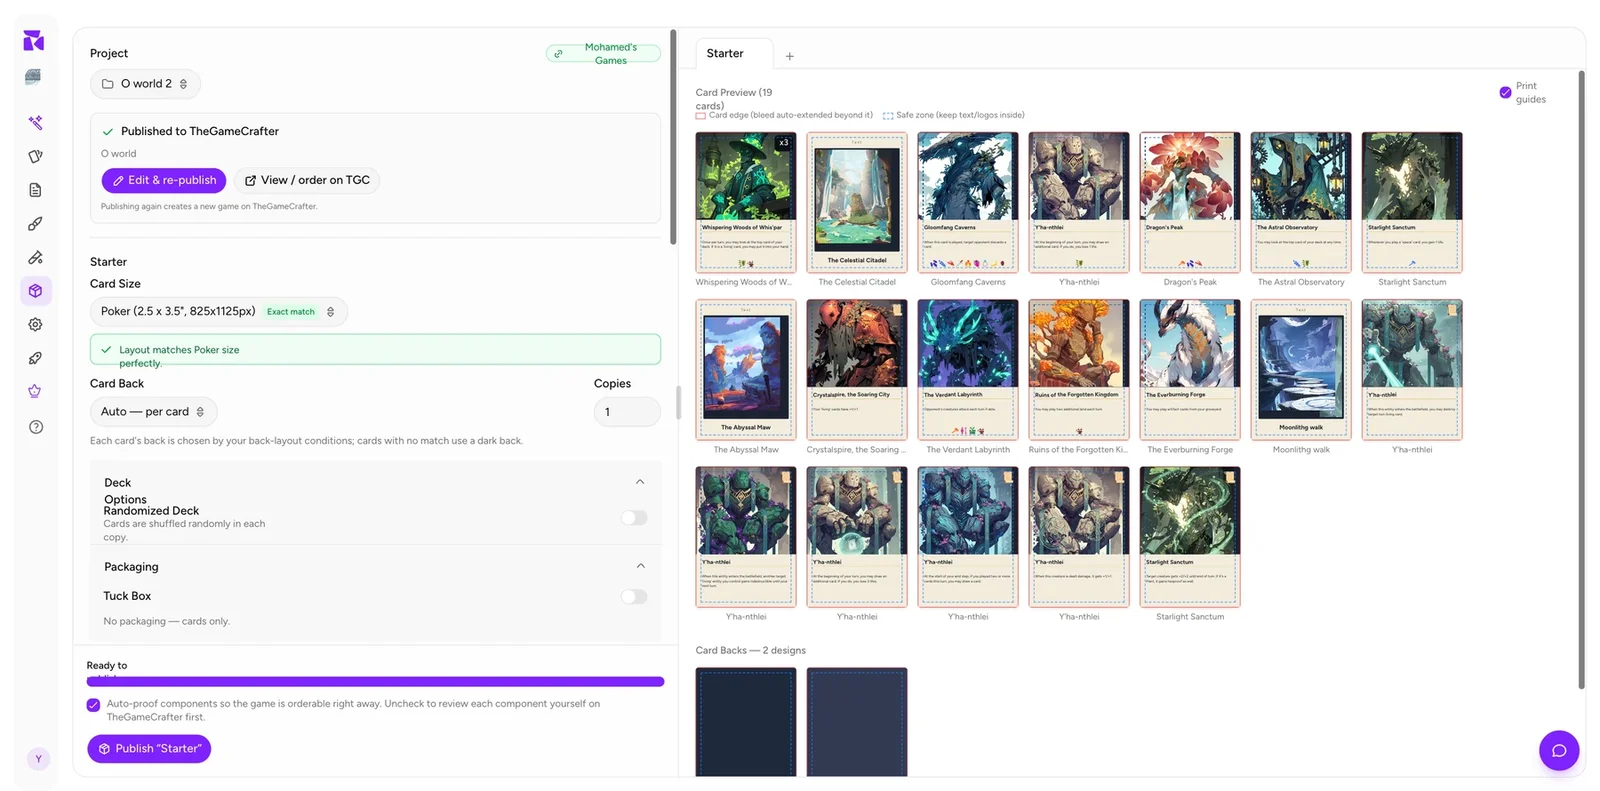
So a Poker layout at 750x1050 earns the Exact match badge and a green confirmation:
Layout matches Poker size perfectly.
Anything else gets an amber warning naming both numbers:
Dimension mismatch: Your layout is 825x1125px but Poker prints at 750x1050px (plus bleed). Cards will be scaled to fit.
Scaling softens art and can push text out of the safe zone. If you need a different size, change the Canvas size in the layout editor and re-check, rather than letting the scaler do it.
Card back
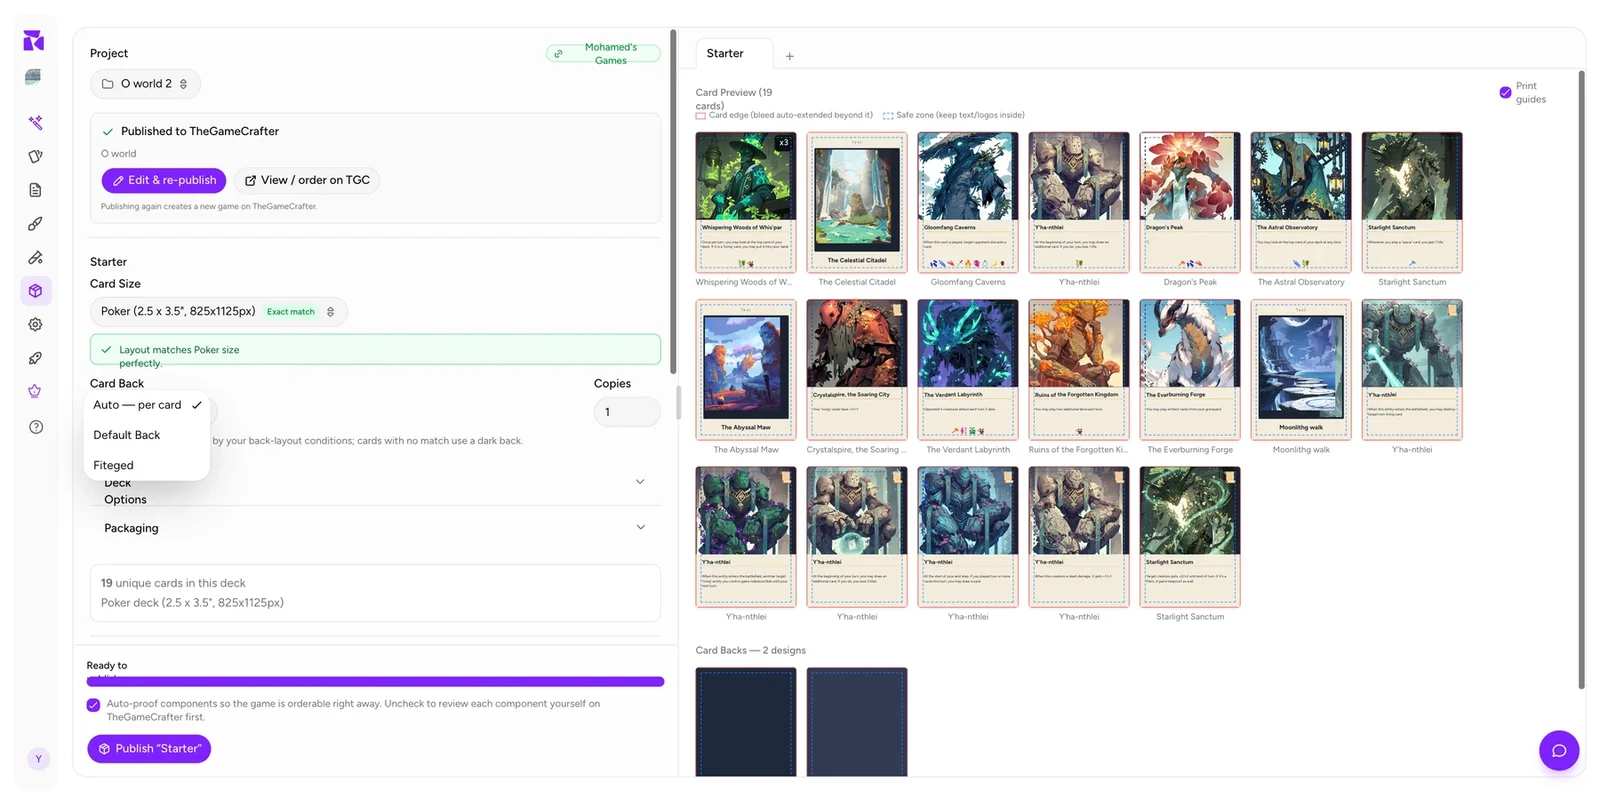
Two kinds of choice:
- Auto: per card (default): each card's back is chosen by your back-layout conditions.
- A specific back layout: every card in the deck gets that one back. The help text becomes "This one back prints on every card in the deck."
On Auto, the help text spells out the fallback and names it:
Each card's back is chosen by your back-layout conditions: cards with no match use a dark back.
That last part matters. A card that matches no back condition and has no starred default back will print with a plain dark back, which looks like a bug in a finished product. Make sure one back layout is unconditional and starred. Once you have, this line names it instead of "a dark back". With no back layouts at all, it reads "No back layouts yet: cards print a dark back."
The preview panel confirms what you'll get:
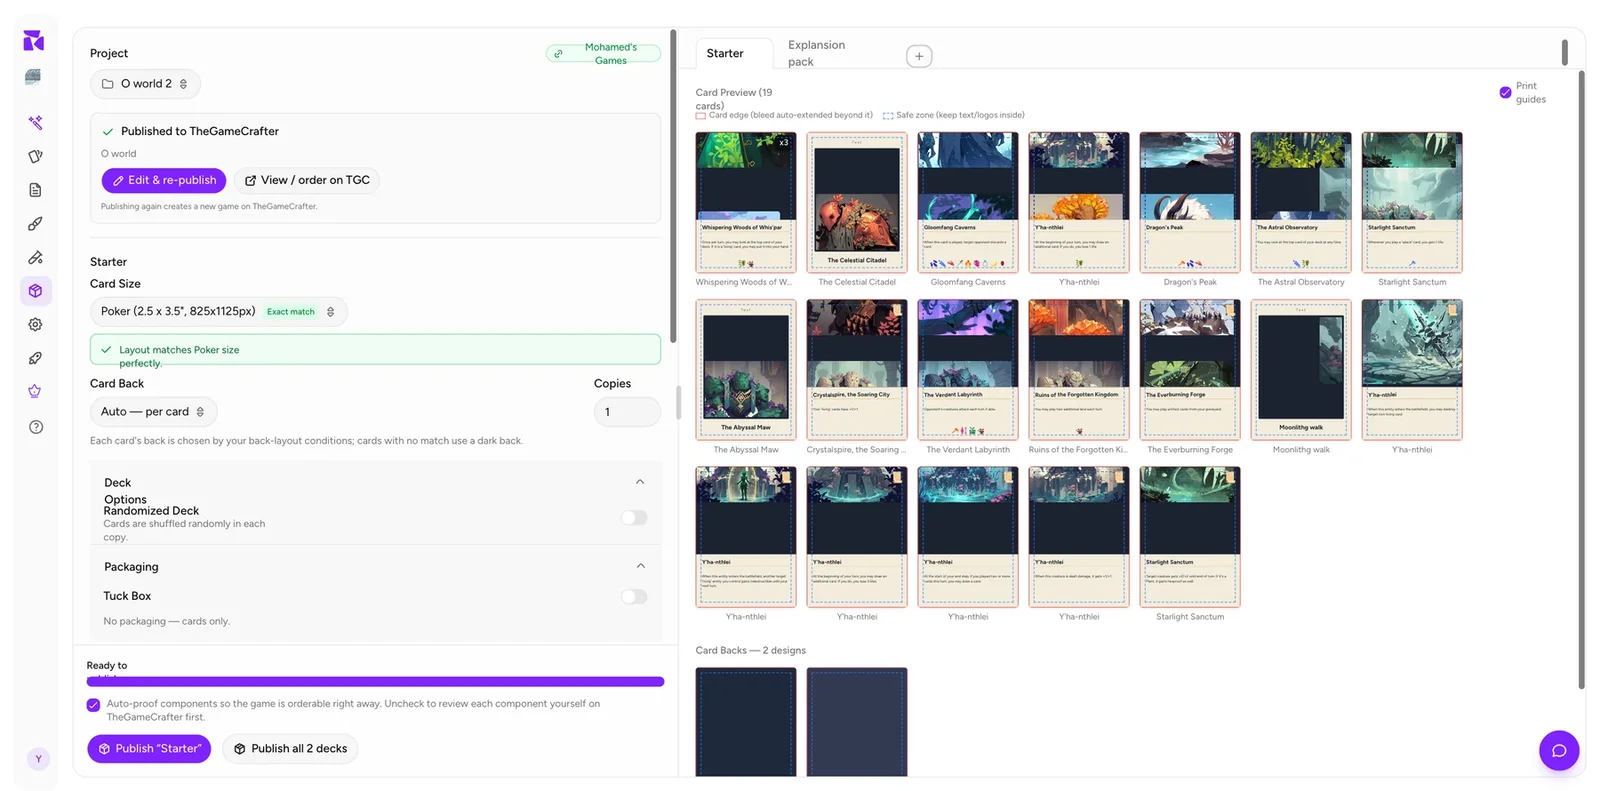
Card Backs: 2 designs · Variant 1 · Variant 2
Different backs print per card, chosen by your layout conditions. To print one shared back instead, pick it under deck settings.
Two backs in one deck is legitimate for faction or expansion decks, but it does mean the deck isn't shuffle-anonymous. Players can tell cards apart from the back, so check that's intentional.
Copies, deck options and packaging
Copies: how many identical copies of this deck go in the game (1 to 99).
Deck Options → Randomized Deck: "Cards are shuffled randomly in each copy." Leave it off for a normal deck. Turn it on for booster-style products. Switching it on reveals Rarity Classes: up to five named tiers, each with a quantity, for defining what a randomized pack contains.
Packaging → Tuck Box: off means "No packaging: cards only." Turn it on and you pick a box size scaled to your deck (Poker Tuck Box 36 / 54 / 72 / 90 / 108, and the equivalents for other stocks) and optionally Box Art from your media library. The whole Packaging section only appears for card sizes TGC makes boxes for.
Below these, a summary line states what you're actually printing: "19 unique cards in this deck / Poker deck (2.5 x 3.5", 825x1125px)", plus lines for copies, tuck box, randomization and rarity classes when those are set.
Note unique is not the same as printed. The cost breakdown for that same 19-card deck reads "21 Poker cards" because one card has a quantity of 3. Quantities come from the deck, not this page.
The card preview and print guides
The right panel renders every card exactly as it will print.
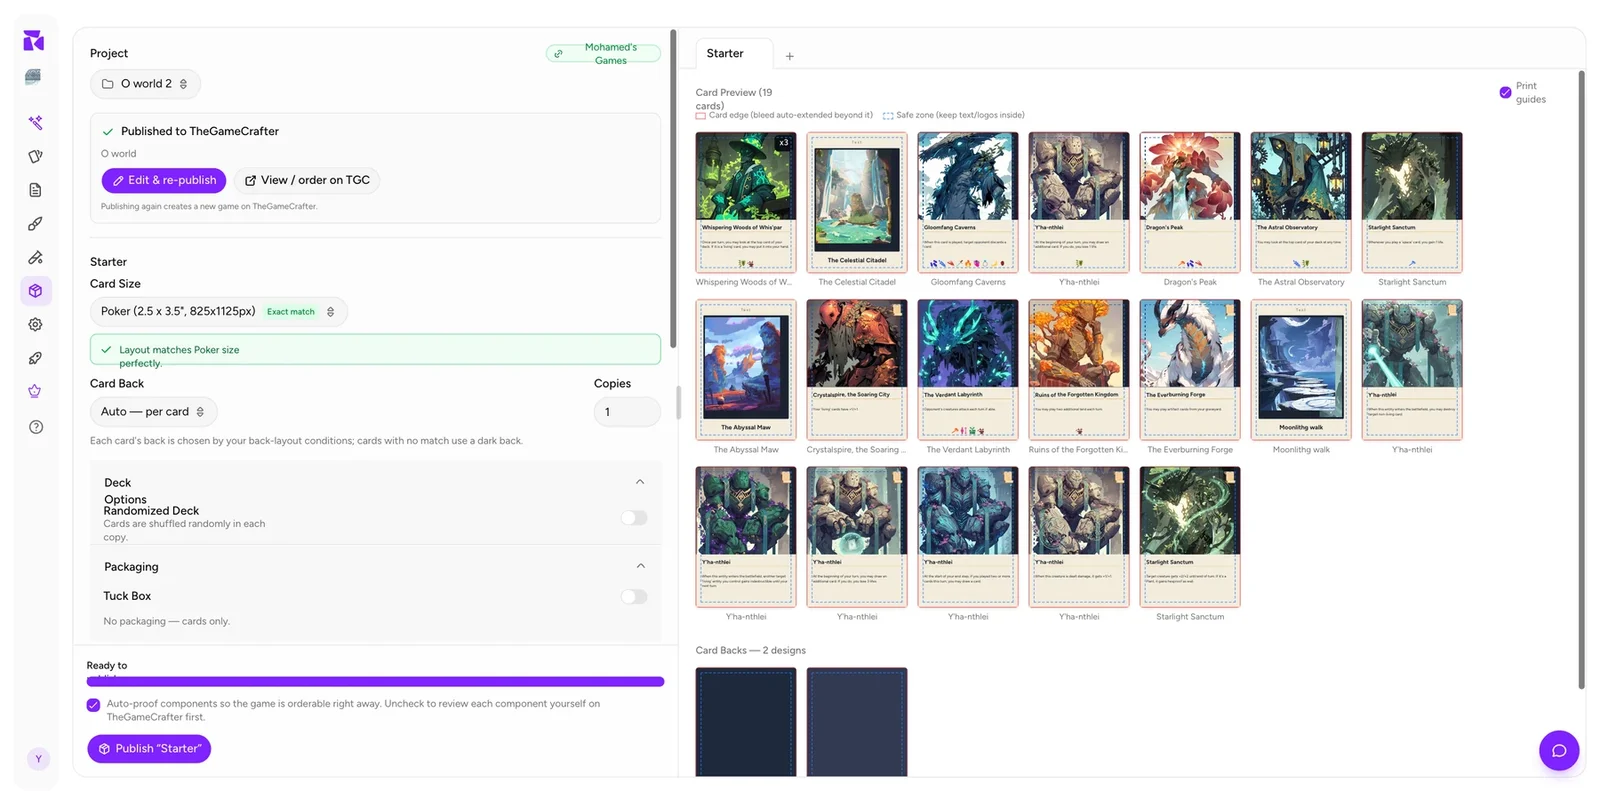
Print guides (top-right toggle) overlays two boundaries on each card, explained by the legend beneath:
| Guide | Means |
|---|---|
| Card edge (solid red) | Where the blade cuts. Bleed is auto-extended beyond it. |
| Safe zone (dashed blue) | Keep text and logos inside this line. It sits ⅛ inch inside the cut. |
This is the single most valuable check on the page. Cutting is mechanical and drifts by a millimetre or two, so anything between the safe zone and the card edge risks being clipped, and anything that stops short of the edge risks a white sliver.
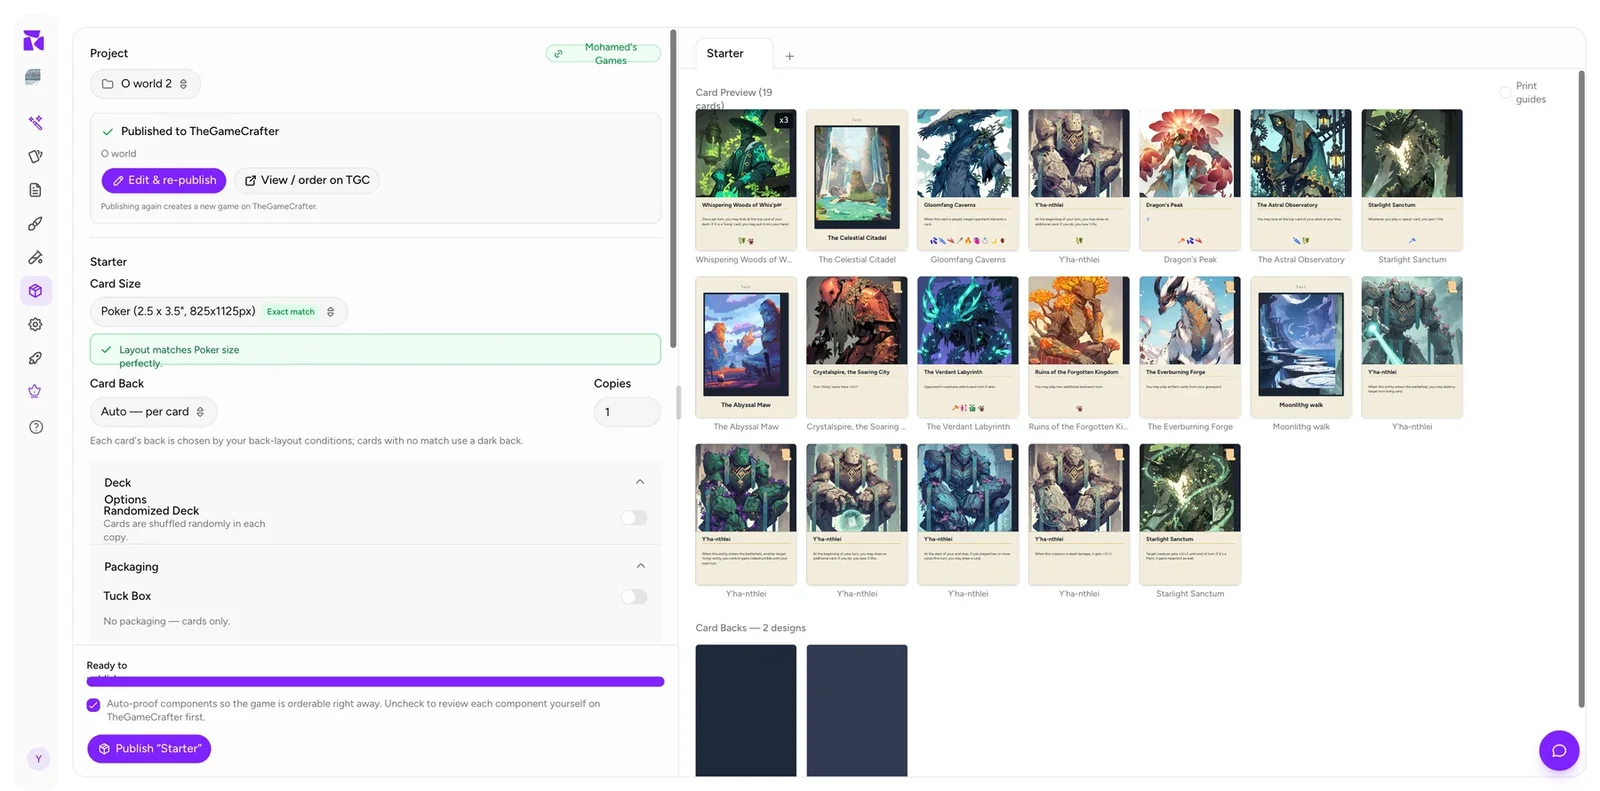
Turn the guides off to judge the artwork itself. Turn them on before you publish. Walk the whole grid, not just the first row. Border-hugging titles usually only appear on one or two cards.
Quantity badges (x3, x4) appear on cards printed more than once.
The TGC listing
The lower half of the left panel is the TGC shop page, split into collapsible sections. Game Details, Categorization, Cool Factors and Players & Gameplay each carry an Auto-fill with AI link that drafts content from your actual cards and rules.
Seven things are genuinely required before you can publish. The app tracks them for you (see Publishing below):
- Game Name
- Short Description
- Cool Factors (all three)
- Game Logo
- Shop Backdrop
- Advertisement
- Action Shot
Everything else is optional and can be filled in later on TGC.
Game Details
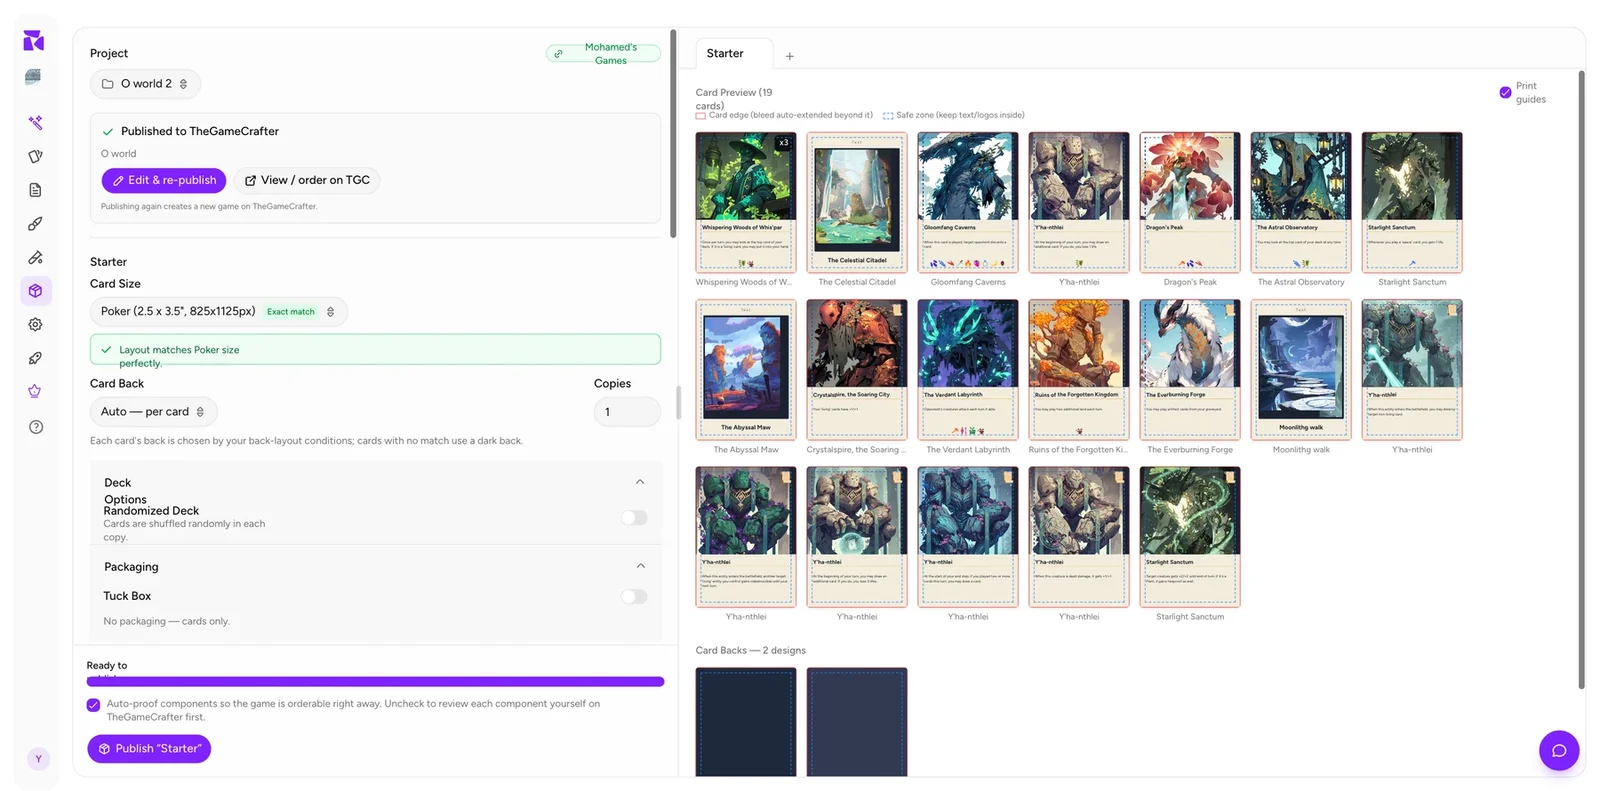
Description (up to 5,000 characters, shown on the TGC game page), Short Description (search results and previews, required), Edition, Website, BoardGameGeek ID.
Categorization
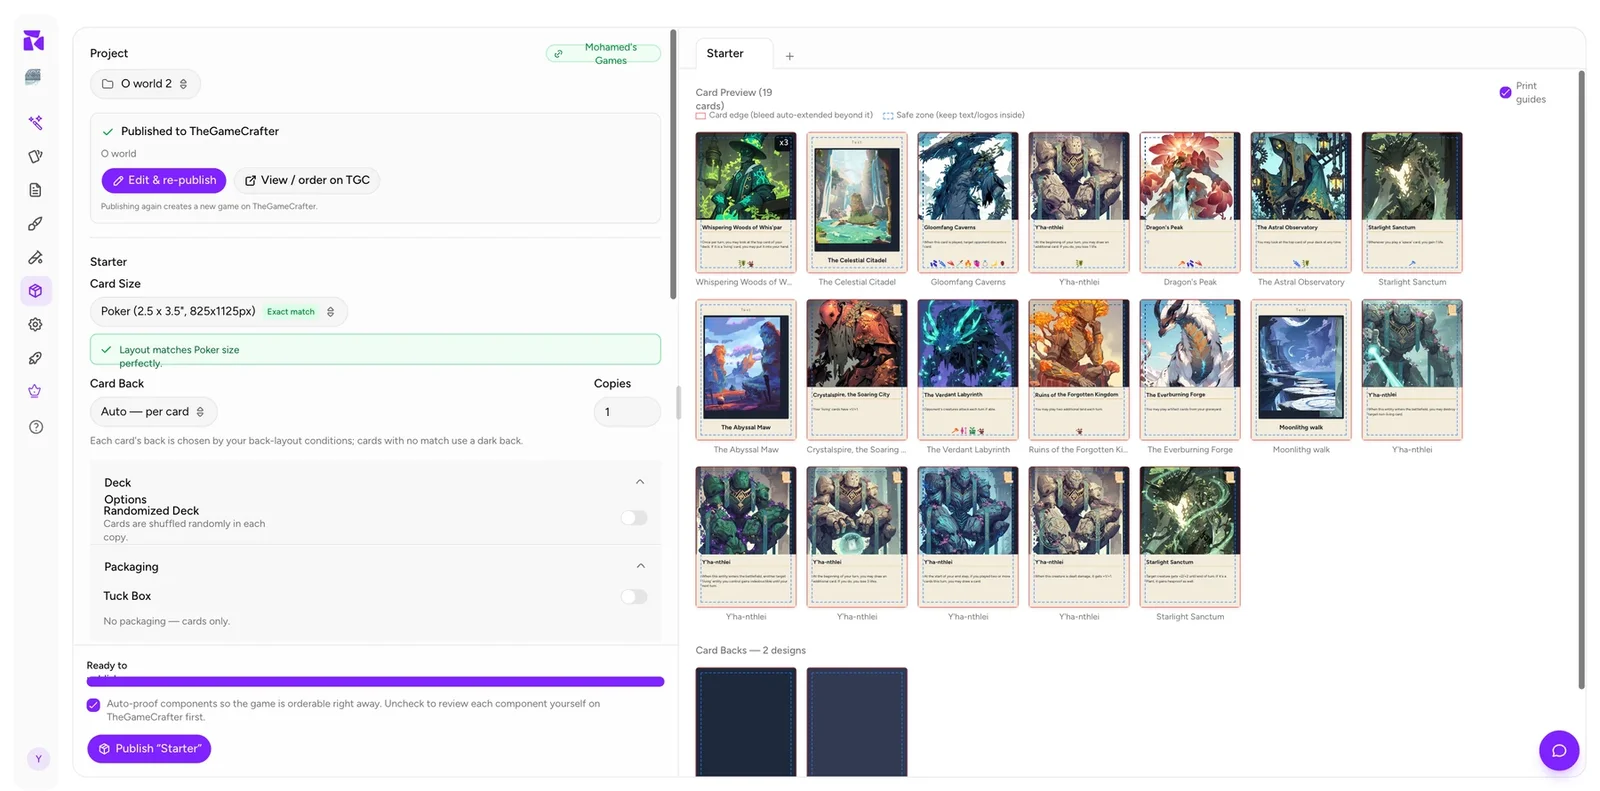
Genre, Theme, Setting, Game Type, Audience, Primary Mechanic. "Help buyers find your game on TGC. All fields are optional." Optional, but this is how browsers find you.
Documents and Cool Factors
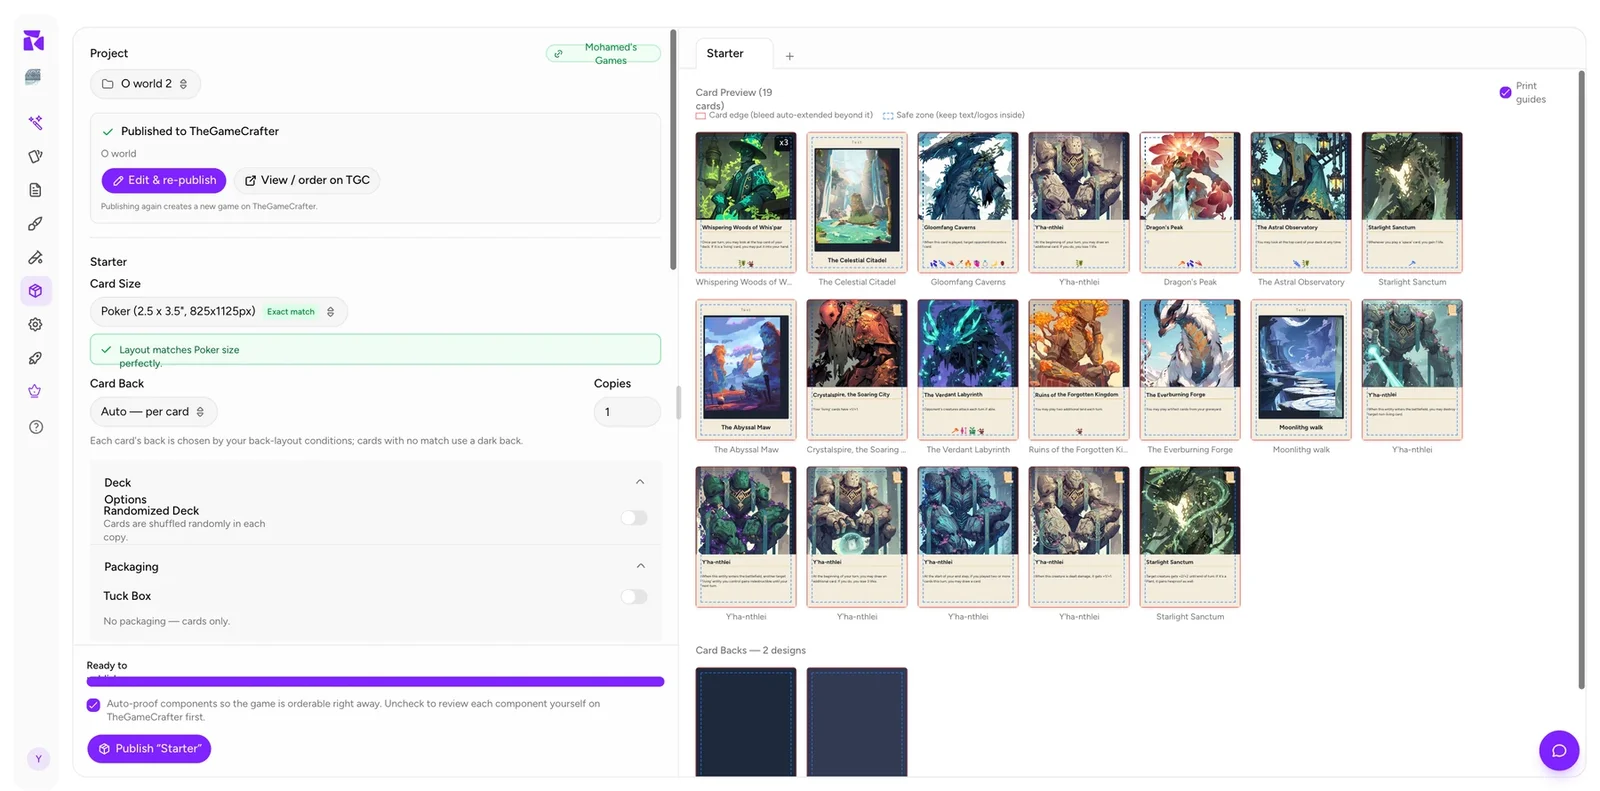
Documents takes a PDF rulebook (max ~15 MB), uploaded to TGC during publish.
Cool Factors are three selling points shown on your shop page, max 60 characters each, with a live character counter. All three are required. Treat them as the three reasons someone should buy, not a feature list.
Players & Gameplay and Game Media
Min/Max Players (1 to 99), Play Time and Min Age (both picked from ranges), Suggested Retail Price.
Game Media covers four images TGC requires. An empty slot offers Choose (from your media library), Generate with AI and Upload; once filled, those become Change / Regenerate / Upload, plus an ✕ to clear.
| Image | Size | Purpose |
|---|---|---|
| Game Logo | 350×150 | Shop page header |
| Shop Backdrop | 1600×600 | Page background |
| Advertisement | 216×150 | Listings and promos |
| Action Shot | up to 800×600 | A photo-style scene of the game in play |
All four are required by TGC, so a listing isn't complete without them.
Cost estimate
An Estimated Cost block appears once a deck is configured: a one-off Game setup fee, then a line per deck showing printed card count and per-card price, then lines for extra copies and any tuck box, then the Estimated total.
Estimate based on single-copy pricing. Actual cost may vary.
Take that seriously. It's an approximation from published TGC list prices, before shipping, tax, and any volume discount. Use it to compare configurations (Poker vs Mini, tuck box vs none), not to budget a print run. Real numbers, straight from TGC, come back after you publish.
Publishing
At the bottom sits a sticky footer with a readiness meter. Until every required field is filled it reads N/7 ready with a Next: … hint naming the next gap and where to find it; once they're all done it reads Ready to publish and the publish buttons enable.
Beneath it, an auto-proof checkbox:
Auto-proof components so the game is orderable right away. Uncheck to review each component yourself on TheGameCrafter first.
Leave it on for a quick personal order. Turn it off for a real print run. Proofing yourself on TGC is the last chance to catch a size or bleed mistake before it's orderable.
Then the buttons. With one deck open you get Publish "Starter". With several, you also get Publish all N decks, one game containing every open deck.
Publishing runs through four stages you can watch: Rendering cards… → Uploading to TGC… → Creating game… → Published! Every card is rendered at full resolution, uploaded, and assembled into the TGC game. Usually under 10 minutes.
After publishing
A success panel appears:
Your game is ready on TheGameCrafter!
Components are pre-proofed so you can order right away. We recommend ordering a single proof copy first to check print quality before a larger run.
with View Game on TGC and Publish another. Below it, ShuffleKit pulls TGC's real numbers back:
- Cost Breakdown: the actual per-component costs and Total (1 copy), replacing the pre-publish estimate.
- Bulk Pricing: TGC's quantity tiers as a Qty / Per Unit / Total table. This is where a print run starts to make financial sense.
- Publish to Shop: optional. It makes the game purchasable by anyone rather than just you. Once done, the panel confirms Published to TGC Shop and a View shop page button appears.
Return later and the top of the panel shows a status card instead:
✓ Published to TheGameCrafter: O world
Edit & re-publish · View / order on TGC · View shop page
Publishing again creates a new game on TheGameCrafter.
That last line is the most important sentence on the page. Re-publishing does not update the existing TGC game. It creates a new one. So:
- Fix everything you can before the first publish.
- Expect to tidy up duplicate games on TGC if you iterate.
- For small text corrections, editing directly on TGC may be less disruptive than re-publishing.
View / order on TGC opens the live game page, where you place the actual order.
A pre-publish checklist
- Every card's layout resolves correctly. Check a few of each type with Why this layout?
- Preview mode in the layout editor, paged through every card, no overflow.
- Card size shows Exact match. Remember your layout should be the cut size, 75px smaller each way than the number in the list.
- Card back set, with an unconditional starred back so nothing falls through to the plain dark back.
- Deck quantities correct. Compare unique cards against the printed cards in the cost line.
- Print guides on, whole grid walked, nothing outside the safe zone.
- Copies, randomization and packaging set.
- The readiness meter reads Ready to publish. All seven required fields, including the four media images, must be complete.
- Rulebook PDF attached if you have one.
- Auto-proof off for a real print run, so you can proof on TGC first.
- Order one copy first. Always. Screen and paper disagree more than you expect.











