
The File menu in the top bar is the door in and out of ShuffleKit: spreadsheets, Google Sheets, PDFs and Illustrator files in, print files and supported virtual-tabletop packs out. Its actions are scoped to the active collection, so you do not accidentally export boards when you meant to export a card deck.
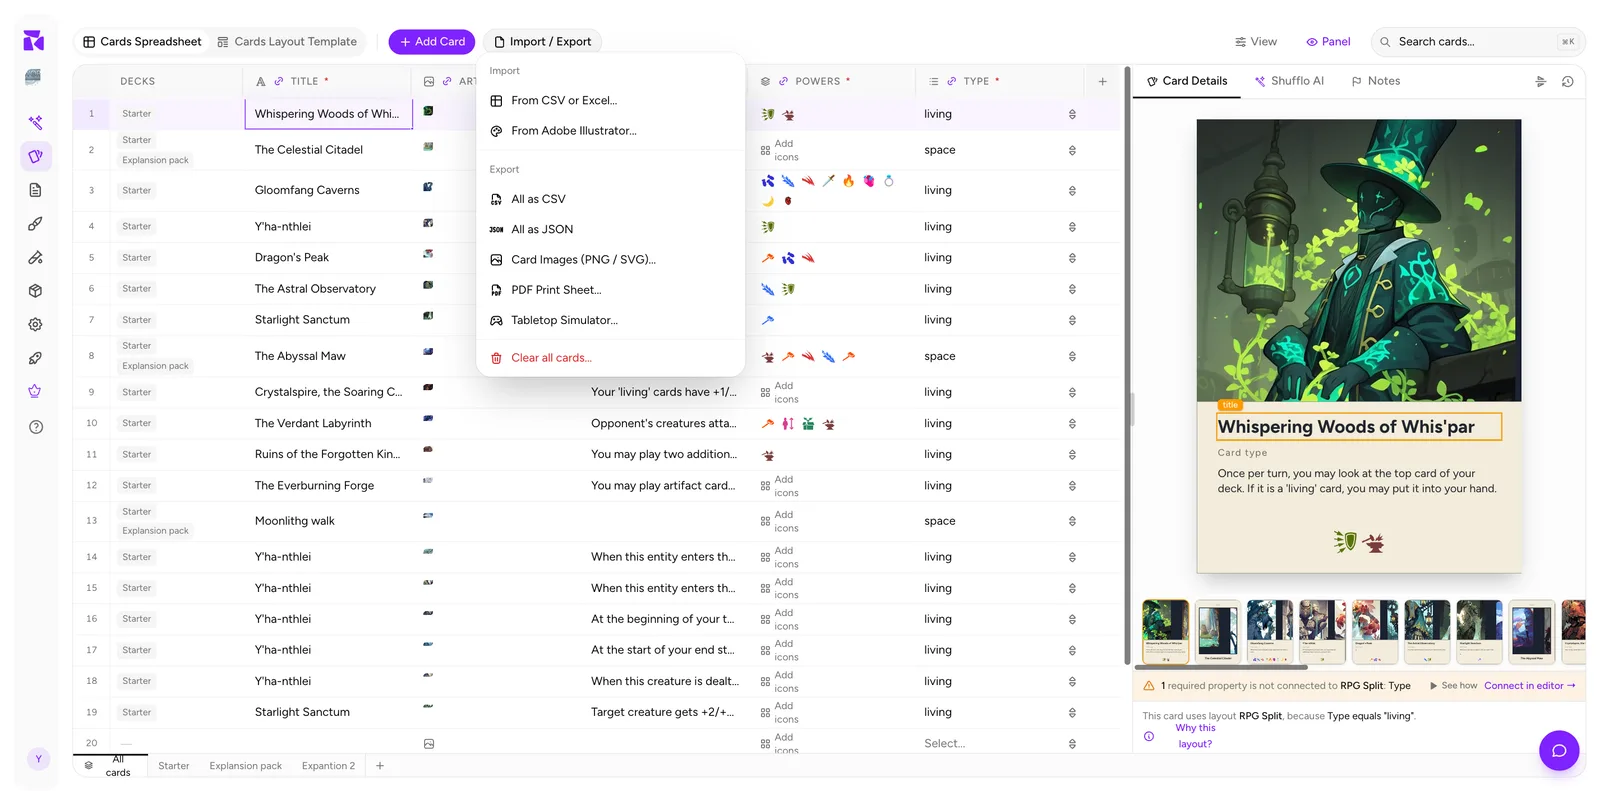
| Option | Purpose | |
|---|---|---|
| Import | Cards from CSV or Excel... | Bring data into the active component collection from a spreadsheet |
| Cards from a Google Sheet... | Read a shared or published Google Sheet, and Sync it again later | |
| New project from a PDF or Illustrator file... | Turn a PDF or .ai design, one card per page, into a new project |
|
| Export | All as CSV | Card data as a spreadsheet, one row per card |
| All as JSON | The same card data in JSON | |
| Card Images (PNG / SVG)... | Rendered cards as image files | |
| PDF Print Sheet... | Print-ready pages | |
| Tabletop Simulator... | A TTS-ready spritesheet for supported card collections | |
| Clear all project items... | Deletes the current project's items; destructive |
Importing
From CSV or Excel
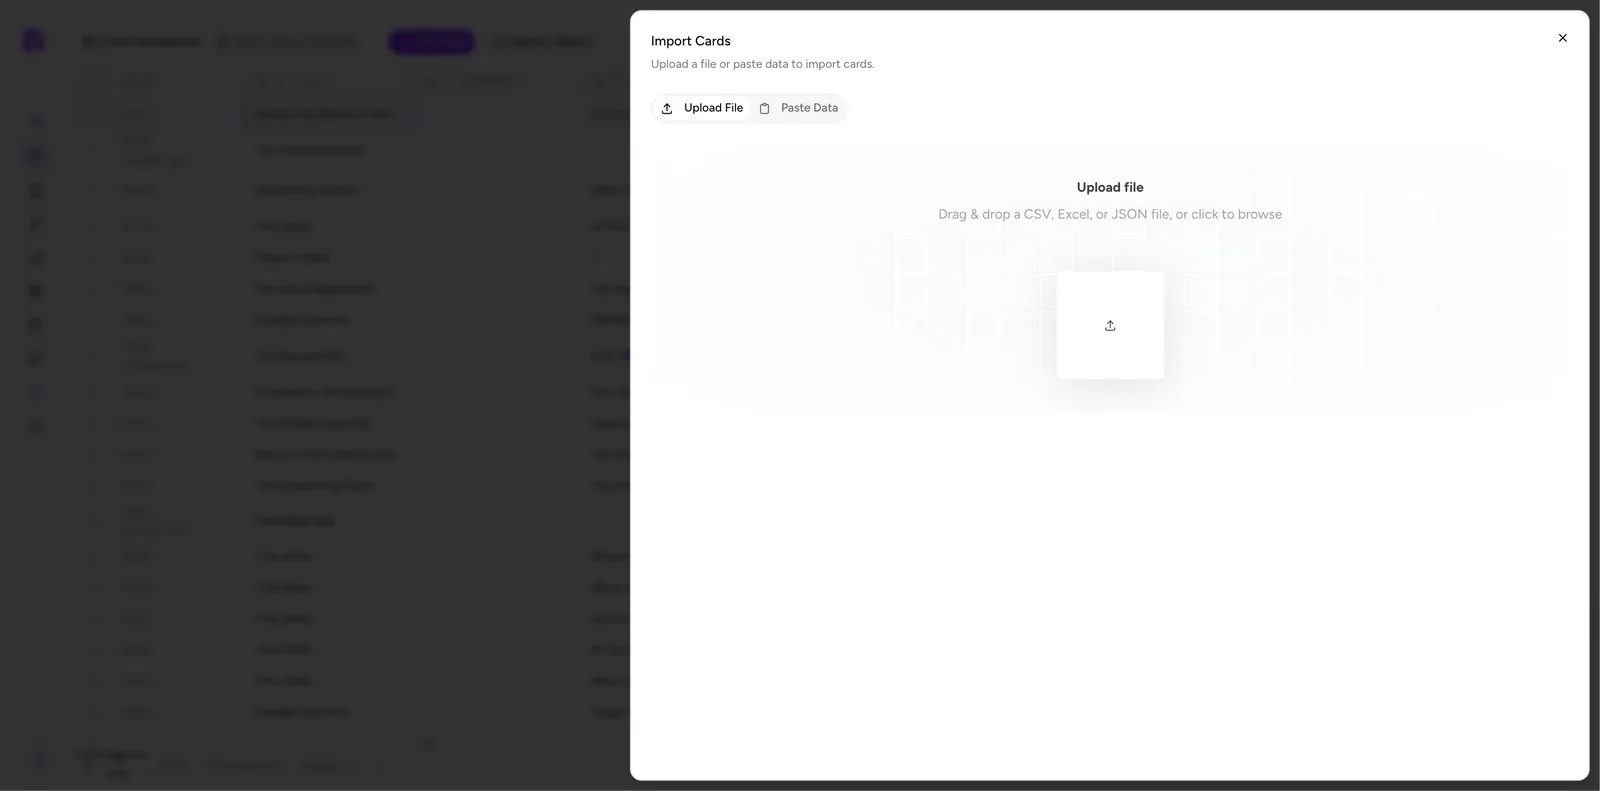
Upload File takes a drag-and-drop or a file picker, and accepts CSV, Excel and JSON.
Paste Data is the faster route for a quick batch:
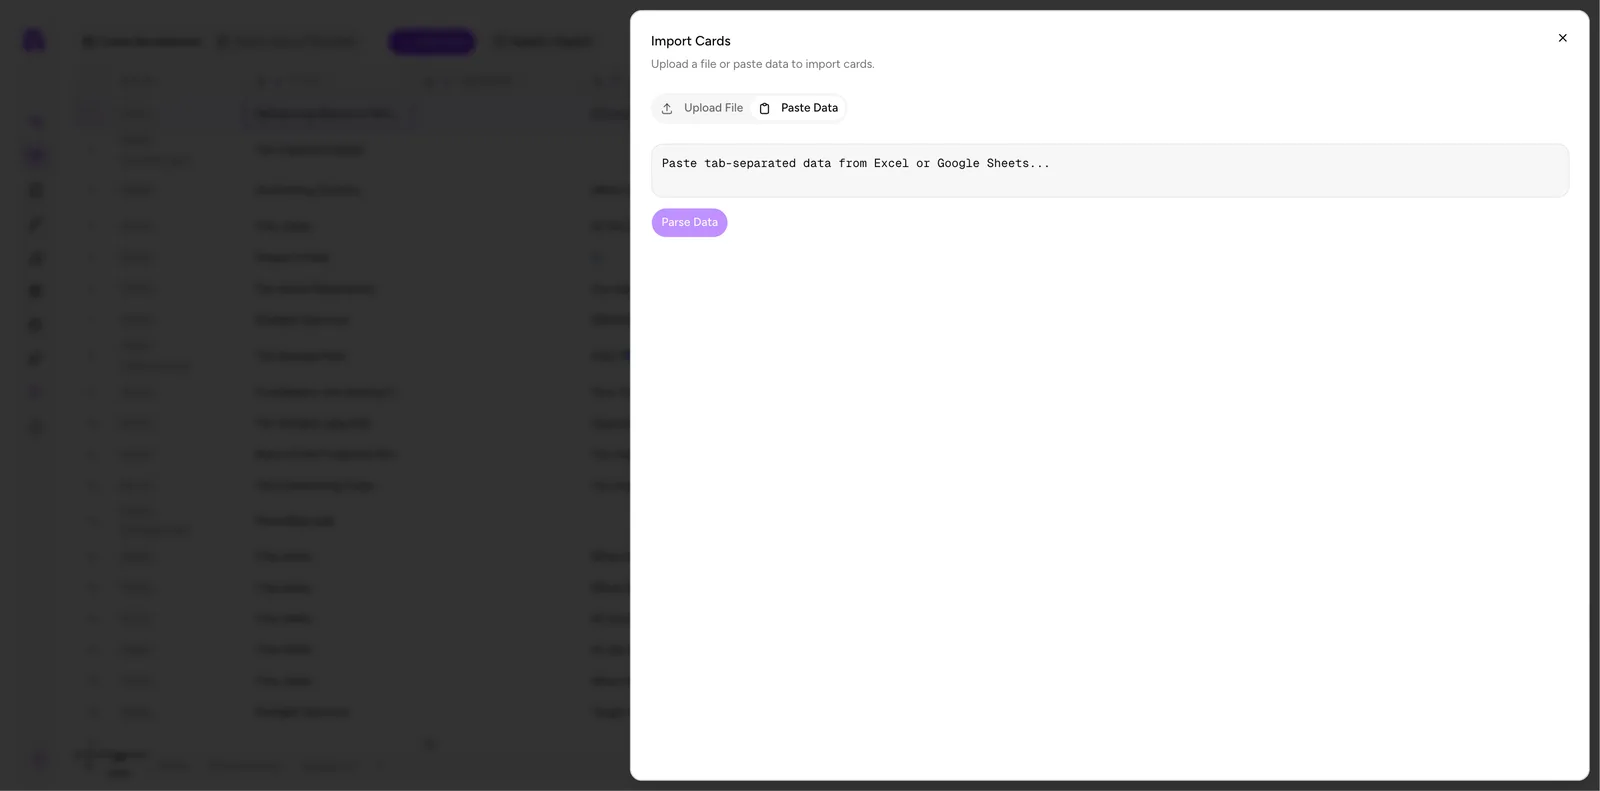
Copy cells straight out of Excel or Google Sheets, paste into the box, and click Parse Data. The field expects tab-separated data, which is exactly what a spreadsheet puts on your clipboard.
For example, a small CSV can look like this:
title,Type,ability
Moonlit Scout,living,Reveal the top card of your deck.
Void Cartographer,space,Look at the top three cards.
The first row is the header. Each following row becomes a new card. An entirely empty row is skipped.
Getting an import right
- Put a header row first. Column headers are matched to your property names, and the matching is forgiving: case and punctuation don't matter, near-misses surface as one-click suggestions in the Map Columns step, and you can remap anything by hand there. Headers that match nothing become new properties.
- Create the properties first. Define columns in ShuffleKit before importing, so types are right. One thing to know about Select properties: values their options list hasn't seen before are added to it rather than rejected, so scan the options for typos after a big import.
- Test with five rows. Import a small slice, check it landed correctly, then do the rest.
In the Map Columns step, each source column can be mapped to an existing property, turned into a new property, or skipped. When the collection already has cards, the same step asks what the file should do:
- Add every row as a new card appends, as every import used to.
- Update matching cards finds the card each row belongs to and changes it in place, so its decks, notes and layout stay attached. Rows that match nothing are added. Pick the column rows are matched by: the ShuffleKit ID column that CSV and JSON export write matches exactly, or pick a column such as Name. The step defaults to updating when rows already match cards here, and says so.
An update goes to Review Changes before anything is written: how many cards are new, changed, unchanged, and in the collection but not in the file, with the changes listed card by card. Cards the file no longer lists are left alone unless you choose to mark them Archived or delete them. On the Free plan, new cards past the 120-card limit are left out and the review says how many; changes to existing cards always apply.
The round trip that works best: All as CSV, edit in your spreadsheet, then import the file back with Update matching cards. The ShuffleKit ID column ties each row to its card, even if you renamed it.
This is the regular Cards-page import. Onboarding has a separate first-run import preview with controls for delimiter, header row and smart parsing; use that when you are creating a new project from the onboarding wizard. Either way, keep a small test file handy before importing a full set.
Images can come in through a spreadsheet too, as long as the cells hold image URLs; bare filenames won't display. You can always add artwork after the data lands instead.
ShuffleKit also snapshots your existing cards automatically before every import, so a bad import is recoverable. See Notes & Version History.
From a Google Sheet
Cards from a Google Sheet... opens the same import on its Google Sheet tab. In Google Sheets, choose Share → Anyone with the link, or File → Share → Publish to web as CSV, and paste the link. ShuffleKit reads the first tab, or the tab the link names, and the rest is the import above.
The link is kept for the collection. Next time the tab shows Sync: it reads the sheet again and goes straight to Review Changes when the columns still line up, matching on the same column as last time. A sheet that isn't shared can't be read; ShuffleKit never signs in to your Google account.
New project from a PDF or Illustrator file
New project from a PDF or Illustrator file... does more than seed a layout: it builds a whole new project from a PDF or an .ai file with one card per page, extracting properties, a layout, cards and artwork. Use it when you're migrating an existing card design into ShuffleKit. A print sheet with several cards on each page isn't split up; export one card per page first. The Design editor has a separate Import from PSD… option in its layout selector for bringing a Photoshop file in as a layout. See Layouts & the Design Editor.
Exporting
Card images
File → Card Images (PNG / SVG)... opens the main export dialog for the active collection:
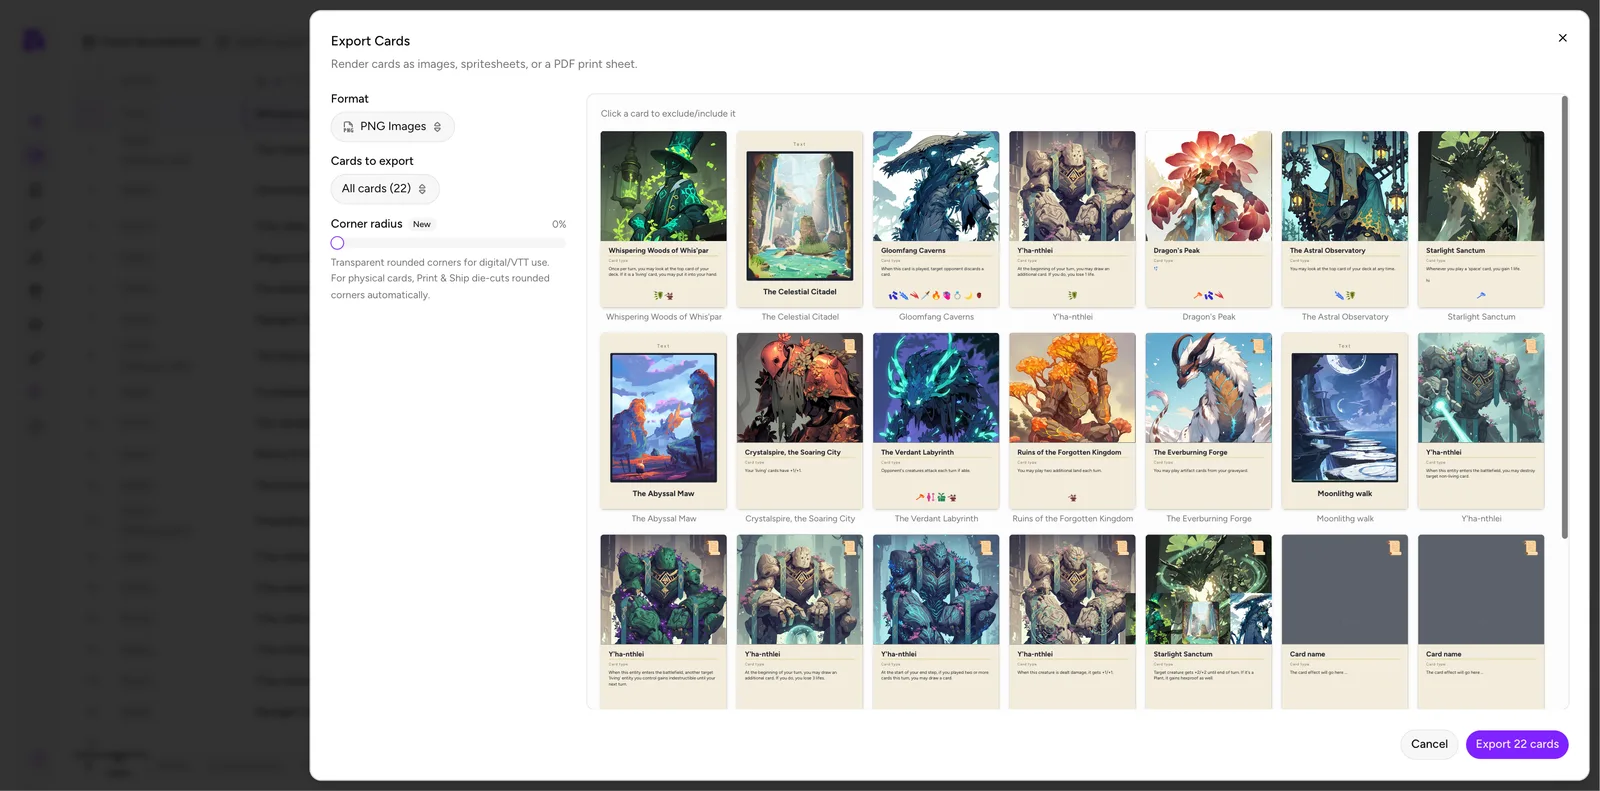
Render the active collection as images, spritesheets, or a PDF print sheet.
Format
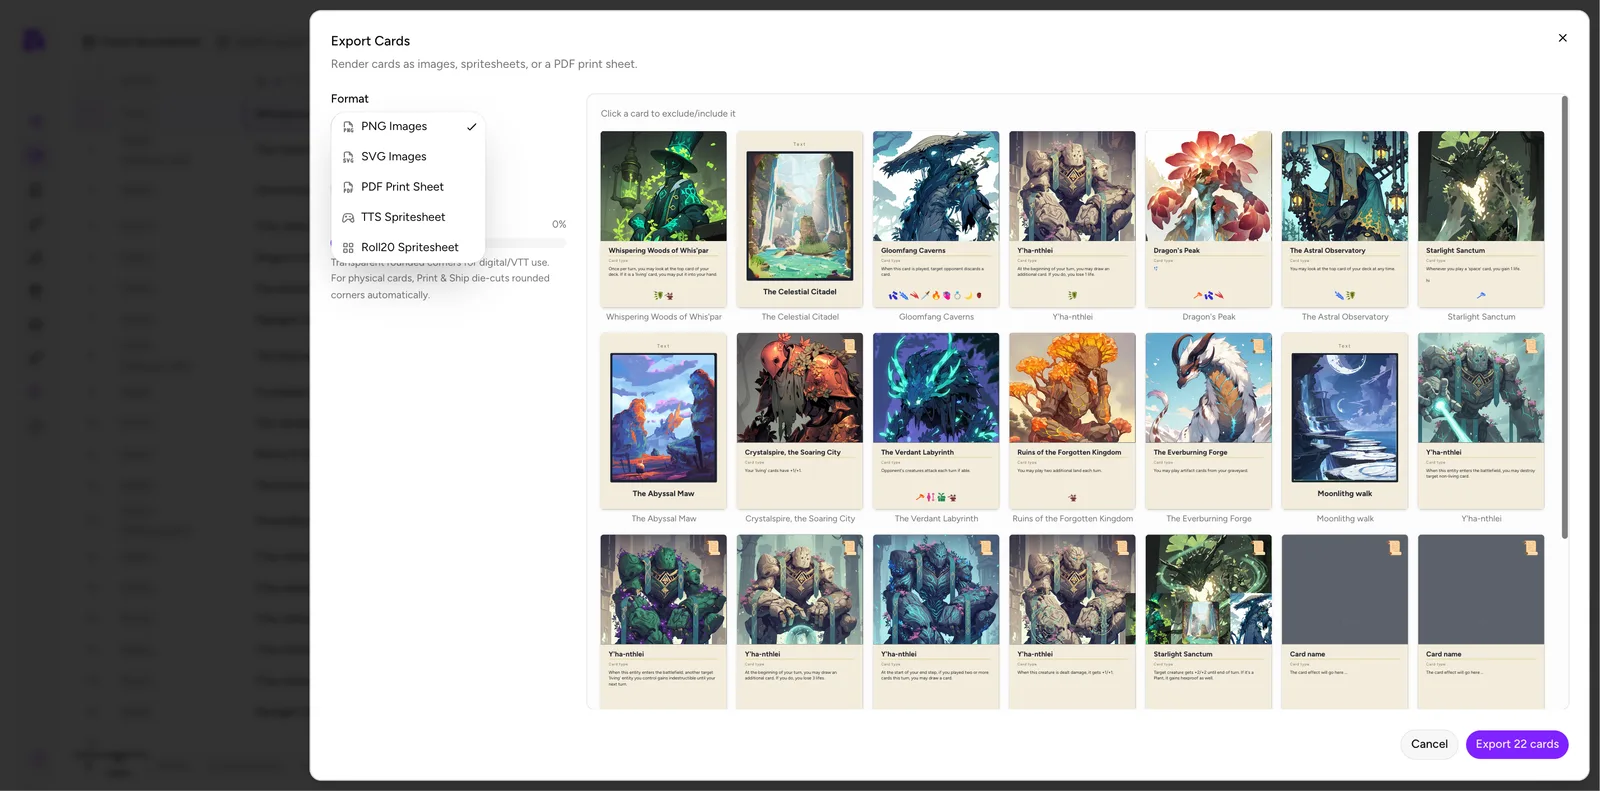
| Format | Use for |
|---|---|
| PNG Images | One raster file per item: VTTs, mockups, social posts |
| SVG Images | Vector: scaling, print workflows, hand-off to a designer |
| PDF Print Sheet | Print-ready pages, with the active component laid out for proofing |
| TTS Spritesheet | Tabletop Simulator's grid format for supported card collections |
| Roll20 Spritesheet | Roll20's deck format for supported card collections |
Items to export scopes the run. From a card collection you can export that collection; from All cards you get the shared card library. Other component types remain in their own collection scope.
Corner radius is a slider from 0%. For the image formats, the help text is worth reading:
Transparent rounded corners for digital/VTT use. For physical cards, Print & Ship die-cuts rounded corners automatically.
So: raise it for digital, leave it at 0 for physical. Rounding corners on a file destined for a printer removes bleed the die-cut needs.
The preview grid shows every item that will be exported, rendered. Click an item to exclude/include it. Excluded items grey out. This is how you export "everything except the three pieces that aren't finished" without touching your data.
Export N cards confirms and runs.
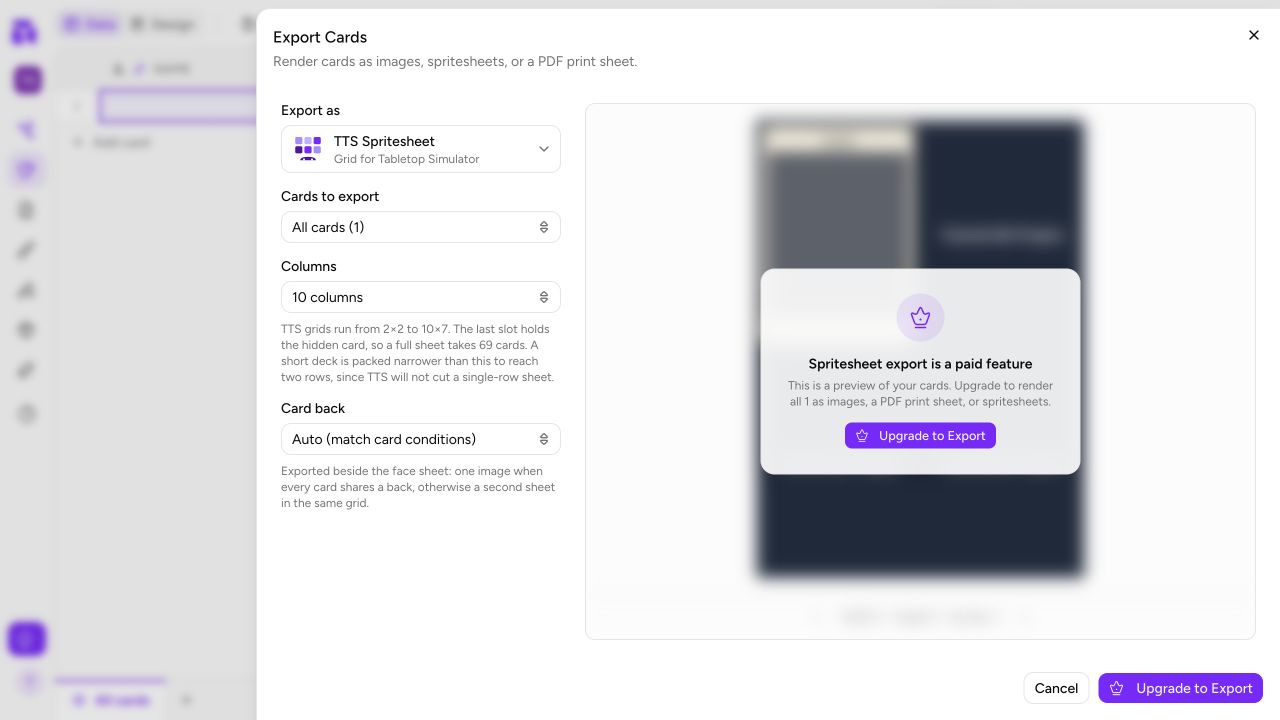
Visual exports (PNG, SVG, PDF and virtual-tabletop spritesheets) require a plan that includes visual export. If the dialog lets you configure an export but the preview is blurred or the action says Upgrade to Export, your card data is safe; the export is simply unavailable on the current plan. CSV and JSON data exports are separate and remain useful as card-data backups.
Before a print run
- Check the count on the button matches what you expect.
- Set Corner radius to 0 for physical printing.
- Read the Print check line if one appears above the preview. It lists text sitting within 1/8 in of the cut, pictures that would print under 300 DPI, and backgrounds that stop short of the bleed. Print & Ship shows the same check before an upload.
- Turn on Include crop marks and bleed for a printer who trims: each card gets a 1/8 in bleed stretched from its edges, with the marks on the cut.
- Export a PDF Print Sheet and print one page at 100% scale first. Proof it in hand.
- Remember deck quantities: with Include deck quantities on (the default), a card with QTY 3 lays out three times on the print sheet.
Data exports
All as CSV gives you flat data, one row per card with its property values. Good for spreadsheets, balance analysis, and sharing with someone who doesn't use ShuffleKit.
All as JSON carries the same card data in JSON, which keeps value types intact for scripts and tools. Neither export includes layouts, decks or notes, so treat them as card-data backups rather than full project backups.
Both download immediately without a dialog. The first column, ShuffleKit ID, is each card's id: leave it in the file and an update import matches rows back to their cards exactly. An import into a different project skips it.
Tabletop Simulator
Tabletop Simulator... produces the spritesheet TTS expects for a deck. The same output is available as a format inside the Card Images dialog, alongside Roll20 Spritesheet.
Read a VTT-sheet preview before exporting
The spritesheet preview is a preview of the actual files, not a decorative contact sheet. If the selected cards need more than one file, use the arrow buttons beneath it to inspect Sheet 1, Sheet 2, and so on. The line beside the arrows names the grid for the sheet currently in view; use those exact columns and rows when the VTT importer asks for them. Excluded cards appear on a final Excluded page instead of leaving misleading holes in a sheet.
For Tabletop Simulator, ShuffleKit uses a legal 2–10 column, 2–7 row grid and reserves a trailing slot for the card hidden in a player's hand. That means a full 10-column sheet holds 69 playable cards, not 70. Small decks are packed into two rows automatically, because TTS rejects a one-row deck. Long decks are split into several files; import each sheet using the settings ShuffleKit shows after export.
After a Tabletop Simulator export, ShuffleKit also hosts the sheets and lists their Face and Back links with copy buttons, and offers a saved object. Put that file in Documents/My Games/Tabletop Simulator/Saves/Saved Objects and the whole deck appears under Objects → Saved Objects, already cut and backed, with each card named. The links stay up for as long as the project exists.
Choose a Card back whenever the deck needs one. With one shared back, the export supplies one card-sized back image and fills TTS's spare hidden-card slots with it. With conditional or different backs, it writes a matching back sheet beside each face sheet; enable the VTT's unique-backs option and use the same grid for the paired sheets. None is appropriate only when face-down cards do not need artwork.
Clear project items
Clear all project items... is in red at the bottom of the menu for a reason, and there's no undo: take a data export and a version snapshot first. Inside a deck tab the same item reads Clear deck... and offers the gentler option of just removing the cards from that deck.











