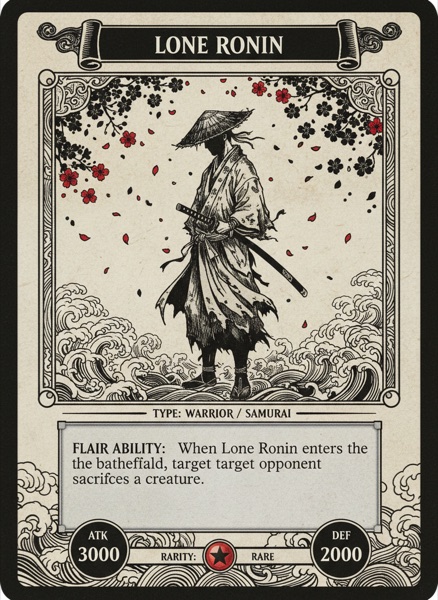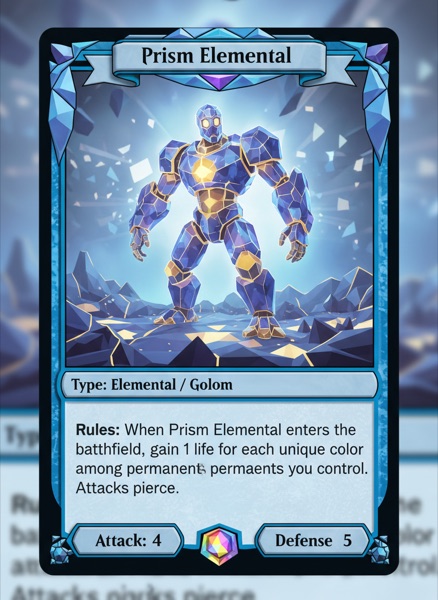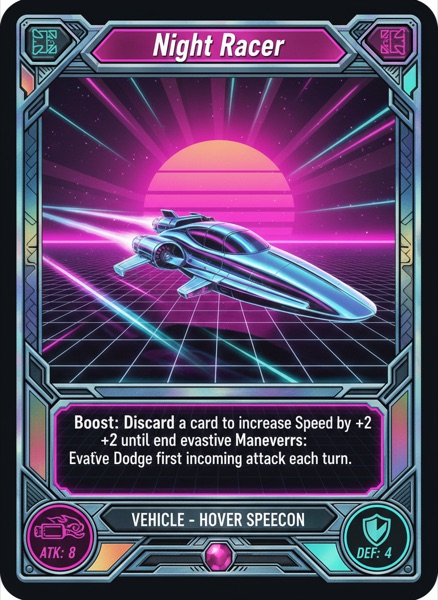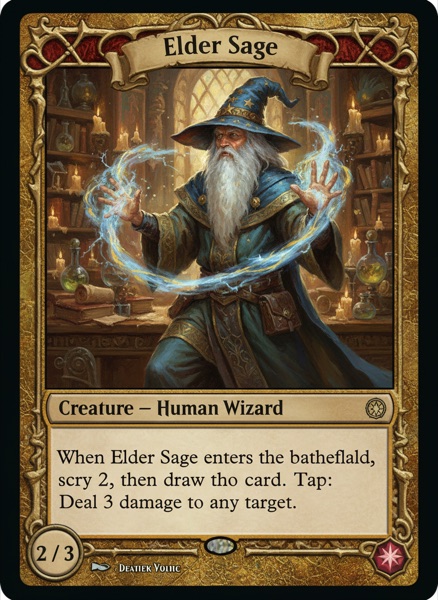
Tabletop Simulator is the best place to playtest a card game with people who aren't in your house, and the first time you try to get your own cards into it, it refuses. It doesn't want sixty card images. It wants one big image with all sixty arranged in a grid, plus a handful of settings that have to agree with that grid exactly. Get them right and a deck takes ten minutes. Get one wrong and you get blank cards.
Here's the whole process, in order.
1. Make every card image the same size
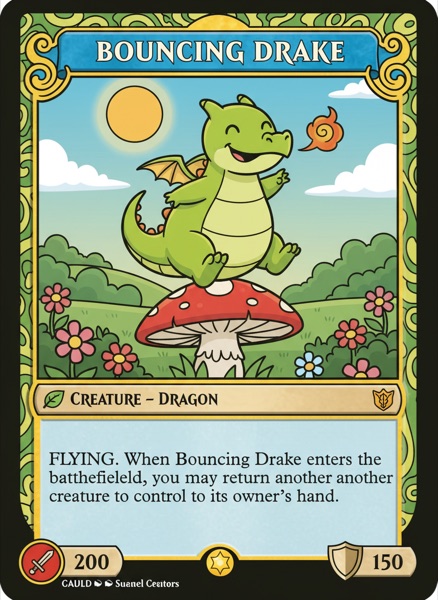
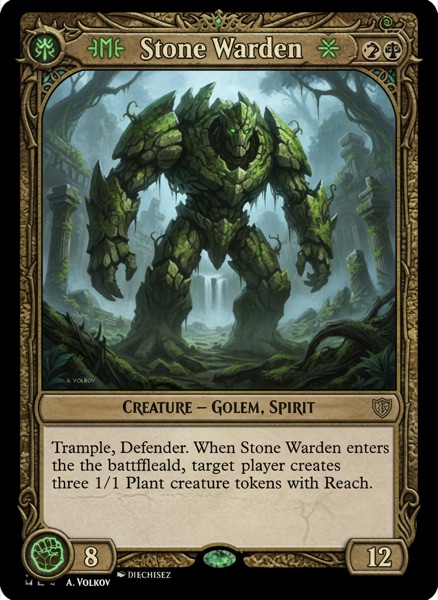
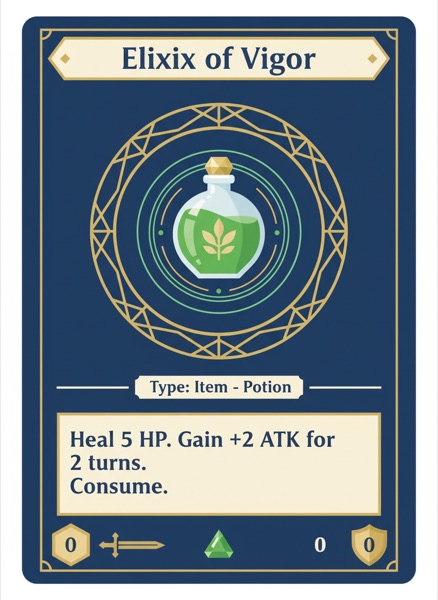
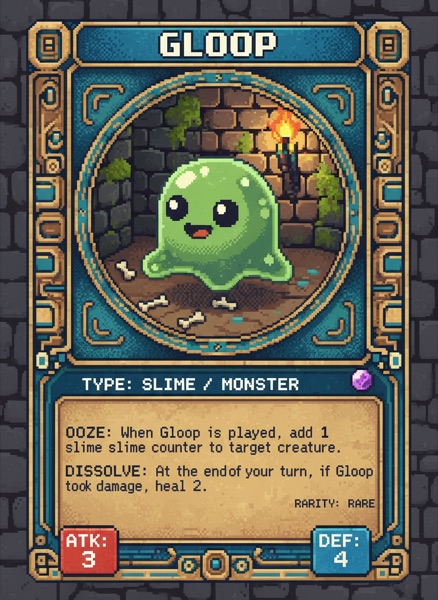
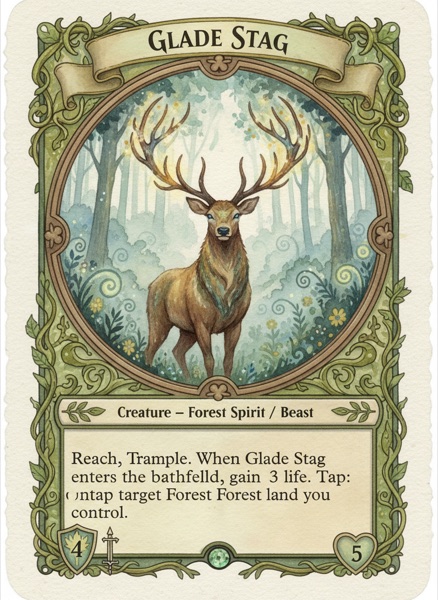
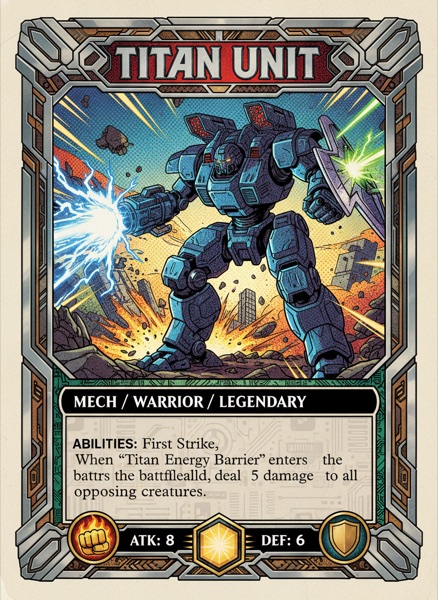
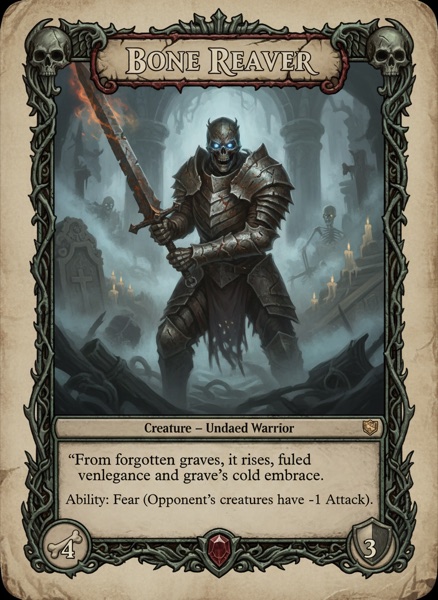
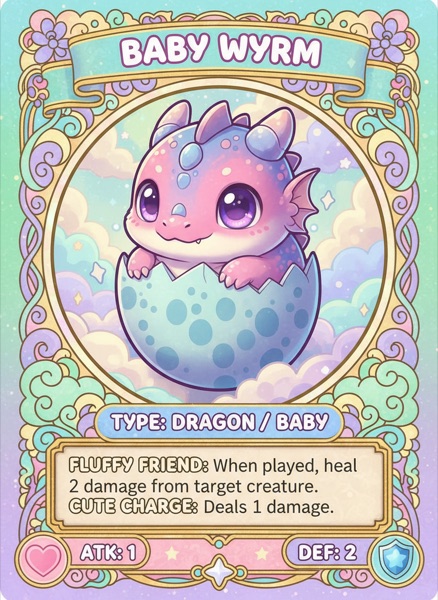
Every card on a sheet has to be the same pixel size and the same proportion, so decide that first. A poker card is 7 wide to 10 tall. Tabletop Simulator's knowledge base recommends keeping a sheet under 4096 pixels on its long edge, and a full sheet is ten cards wide, so around 400 by 560 pixels per card is the sweet spot: readable, and quick to load for everyone at the table. If you'll also print these cards, design at print size and scale down for TTS, never the reverse. Playing card sizes has every dimension.
Keep text away from the edges. TTS shows cards small in a hand, and a name crammed into the corner disappears.
2. Build the deck sheet
The sheet is a grid of ten columns and seven rows, seventy slots, read left to right and top to bottom. Only 69 of them are cards. The last slot, bottom right, is reserved for the hidden card image, the face other players see when you hold a card. Put your card back there, or a blank, but never a card.
Two ways to assemble it:
- Deck Builder, a small tool that ships with the game. Find it in your Steam folder under
Tabletop Simulator/Modding/Deck Builder. Create a new deck, set the column and row count, drag your card images in, and export. It uses the last image you add as the hidden card face, which is the reserved slot doing its job. - Export from your card tool. If your cards live in a design tool that knows about TTS, it builds the sheet for you. ShuffleKit's Tabletop Simulator export lays the deck out in the ten by seven grid, keeps the reserved slot clear, and if the deck is bigger than one sheet it splits it into numbered sheets automatically.
Fill unused slots with black or your back image; transparent slots become see-through cards.
3. Make the back
The back is one card-sized image, not a sheet, unless every card has its own back. If they do, build a second sheet in exactly the same grid order as the faces and turn on Unique Backs at import time. Most games only need the single image.
4. Host the images somewhere TTS can read
TTS loads images by URL, so the sheet has to live online. The simplest path is inside the game: when you place a Custom Deck, the Cloud button uploads the file to Steam Cloud, so friends can load it from your saved objects too. Imgur works too, and so does Dropbox if you change the link so it ends in raw=1 instead of dl=0. Whatever you use, the URL has to point at the image itself, not a page that displays the image. If the address doesn't end in .png or .jpg, TTS will probably choke on it.
5. Import the Custom Deck
In game, open Objects, then Components, then Custom, and choose Deck. The dialog asks for:
- Face and Back: the two URLs from step 4.
- Width and Height: the grid, not the pixels. Ten and seven for a full sheet.
- Number: how many cards are on the sheet. Sixty cards means 60, even though the sheet has 70 slots. Count the reserved slot and you'll import a blank card; overcount and you'll import several.
- Unique Backs: on only if you built a back sheet.
- Sideways: for landscape cards.
- Back is Hidden: on if the back image should stand in for the hidden card face rather than the reserved slot.
Click Import and the deck drops onto the table. Right-click it and choose Save Object so you never fill in this dialog again.
6. Decks bigger than 69 cards
Split the cards across two or more sheets, each in the same grid with its own reserved slot, and import each as its own Custom Deck with the same back. Drop one deck onto the other on the table and TTS merges them into a single pile. A 150-card set is three sheets and thirty seconds of dragging.
The four mistakes that cause blank cards
- Counting seventy. The Number field wants your card count, and the reserved slot isn't a card.
- A page URL instead of an image URL. Imgur's gallery link is a page. The link that ends in .png is the image.
- Width and height in pixels. They're columns and rows.
- A sheet nobody else can see. A file on your desktop loads for you and nobody else. Cloud upload or a public link fixes it.
Make the cards change without rebuilding the sheet
Nobody warns you about this part. The sheet is a snapshot, so every cost change or typo fix means rebuilding and re-importing. If you're testing seriously, that's weekly. The way through is to keep the cards in a tool that regenerates the sheet on demand, so a change to one card is an export, not an afternoon. That's the workflow ShuffleKit's Tabletop Simulator card maker is built around, and our Tabletop Simulator tool comparison covers the alternatives honestly, including the free ones.
If you'd rather skip the sheet altogether for the first few games, ShuffleKit's own browser playtable seats two and needs no export. It's free to start, and I read every bit of feedback that comes in. Build your deck.